Screenshot plays an important role in creating user-guides for software programs and even while writing how-to guides of technical things, screenshots are very important. Sometimes to show someone what’s on our computer or phone screen, there is the need for capturing screenshots.
There is a huge list of screenshot tools that you can use to create awesome customised screenshots. However, I am here to share some of the awesome ways to take screenshots on Windows 10 with or without third-party screenshot tools.
10 Ways to Take Screenshots on Windows 10
-
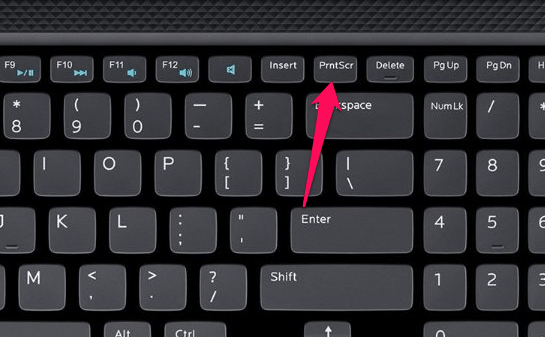
Using the PrtScr button
This is the easiest way to take a screenshot of the whole screen that is in front of you on your computer. Press the Prtscr button. Then open MS Paint, and press Ctrl + V. You will see that the screen that was in front of you when you pressed PrtScr button, is now pasted to the paint.
This is the simplest way to take screenshots. However, the limitation is that you cannot capture some part of the screen using this because it captures the full screen.
-
Windows + PrtScr
If you press Windows + PrtScr, the full screen will be captured and saved to the Picture >> Captures folder. This way, you don’t need to do extra steps that we did in the 1st method since just pressing the specified key combination takes the screenshot, and save it on your hard drive.

Now, you can use this screenshot for your work the way you want.
-
Alt + PrtScr
If you are searching for the answer of how to take a screenshot of active window only in Windows 10, you have to press Alt + PrtScr, and then paste in the MS Paint.
I have pressed this key combination when this screen was in front of me:
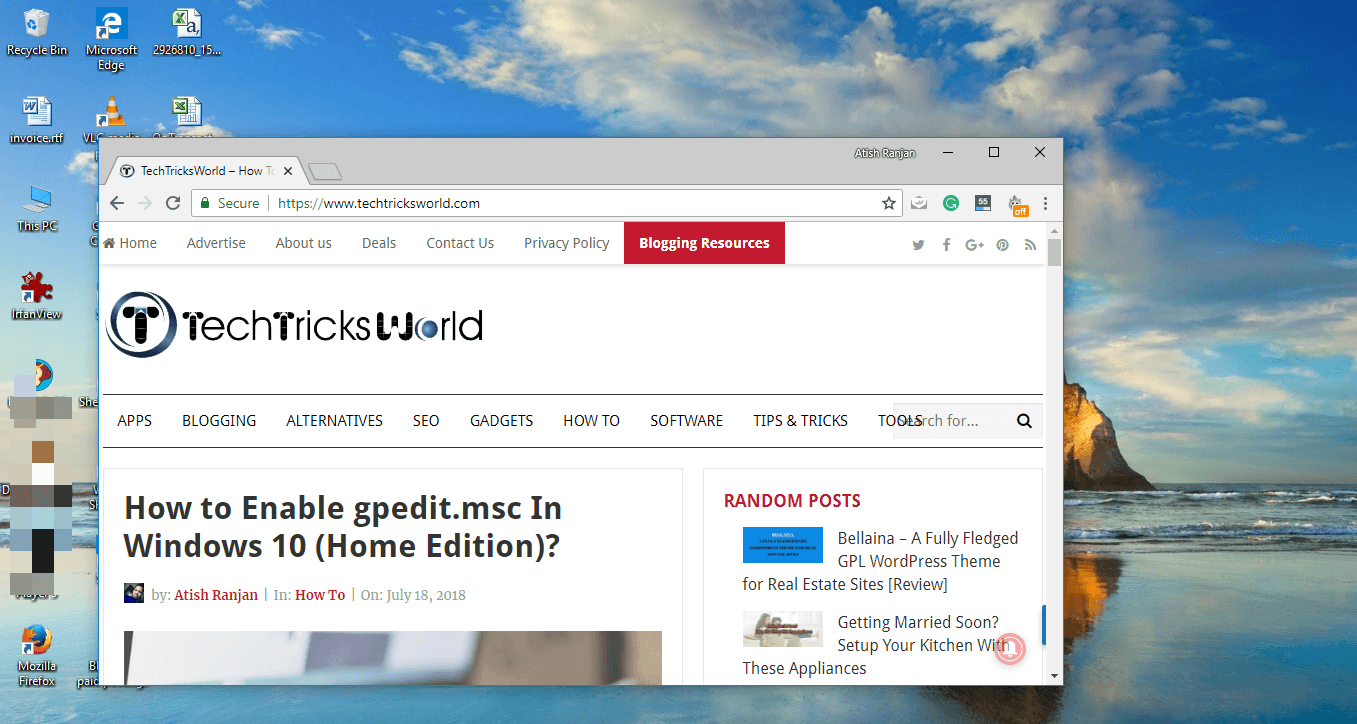
Now, after pressing the key combination, I opened MS Paint and pasted it by pressing Ctrl + V. You can see that only the active window is there.
Using this method, you can capture the active window only. Isn’t it awesome?
-
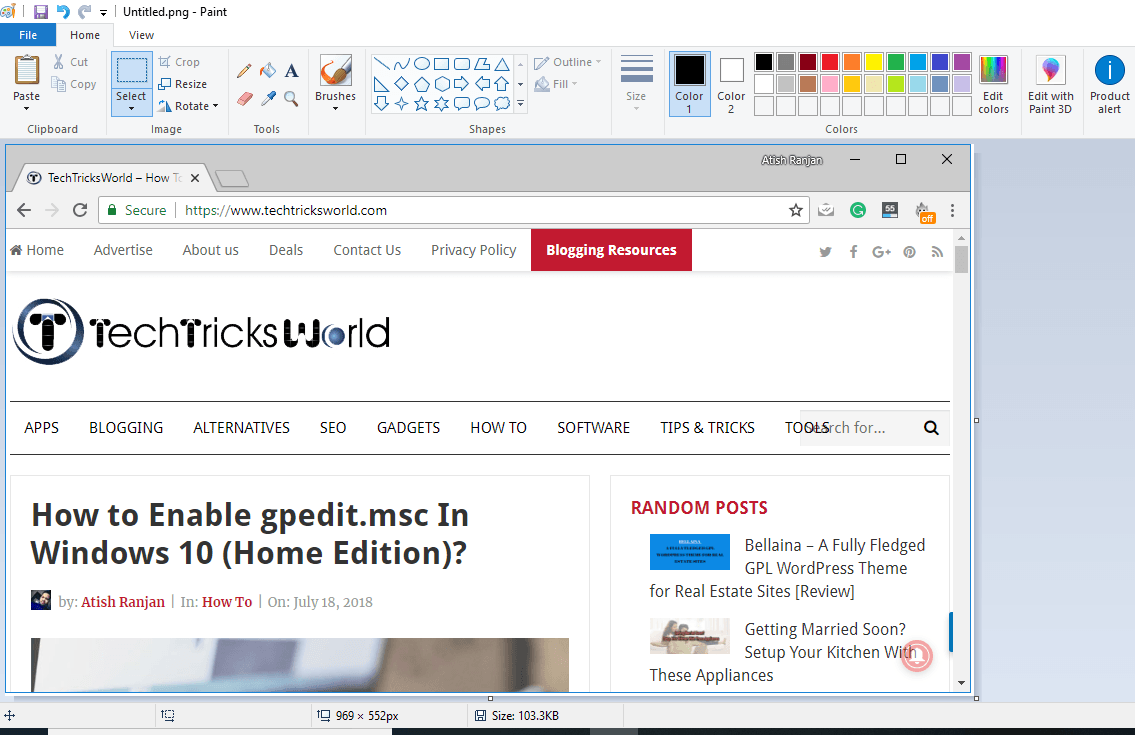
Window + Shift + S
In the above ways, we are not able to select a portion to take screenshot of that part only. Usually, this is done by third-party software, but Windows 10 has made it quite easy. Just press Window + Shift + S at once. Then Open MS Paint, and paste using Ctrl + V
As you press this key combination, you will see that the screen is faded, and the cursor is turned into a bigger + icon. Now, left click, and drag it to make a selection of a portion while holding the left button of your mouse. As you can see in this screenshot, I made a selection.
And when I pasted into MS Paint, that selected area is copied there.

Many Windows 10 users might not know this feature. So, this is for them so that they can utilise this shortcut key combination to take screenshot of a selected area without using any third party software.
-
Snipping Tool
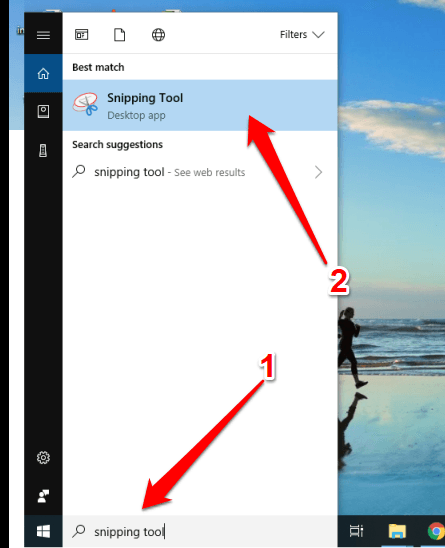
Snipping Tool comes installed with your Windows 10 installation which you can find by typing Snipping Tool into the search box on the Taskbar. This does exactly the same thing which we did in the previous method but it offers more features since it is a standalone tool. You don’t need any help of MS Paint as well when you use this it.
Just type its name, and when it displays, click to launch it.
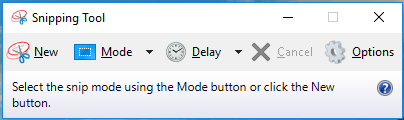
You will see this.
Click on “New” and select the area by making a selection. As long as you release the mouse button, the selected area will be in the tool as:

That’s it. Moreover, there are many features the Snipping tool offers that you can use. You can also change the Mode if you need different type of selection mode.
-
Windows + Shift + F
If you are using Windows 10’s 1803 version (latest), Windows + Shift + F will also help you take a screenshot. You will see a toolbar too that lets you choose the mode for making a selection to take screenshots.

I am not the user of this version so that I couldn’t test this method, but I read somewhere that it can be done in the latest version.
If you have a laptop that has “Fn” key. And, if some shortcuts are not working for you, then include Fn in the combinations specified, and it will work.
-
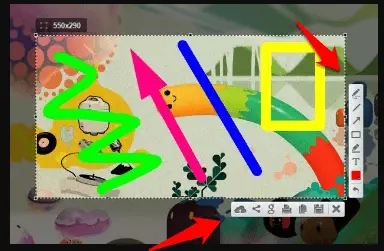
Skitch
Skitch is a great software tool for capturing screenshot on Windows 10. It is the product of Evernote. Evernote killed off Skitch for Windows, Android, and iOS. However, they kept it for Mac. Though it is shut from their end; you can still download it from Cnet, and use it.
It is one of the best screenshot tools I ever used, and I am still using it. Even while writing this blog post, I am taking the screenshots using this only.
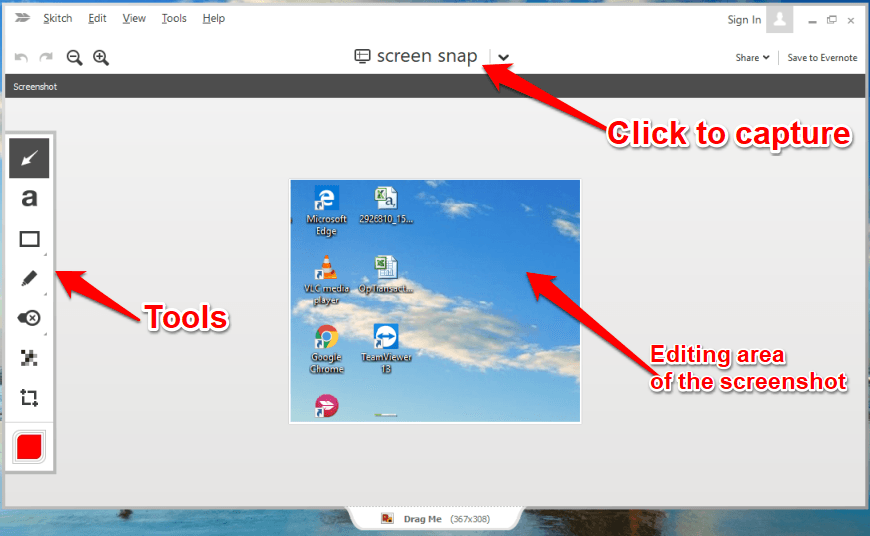
This is how it looks like. It has some of the good options that you can use to customize your screenshot. I love the Arrow and text style of Skitch.
- Also Read: Snagit – Capture Screenshots Like A Pro
-
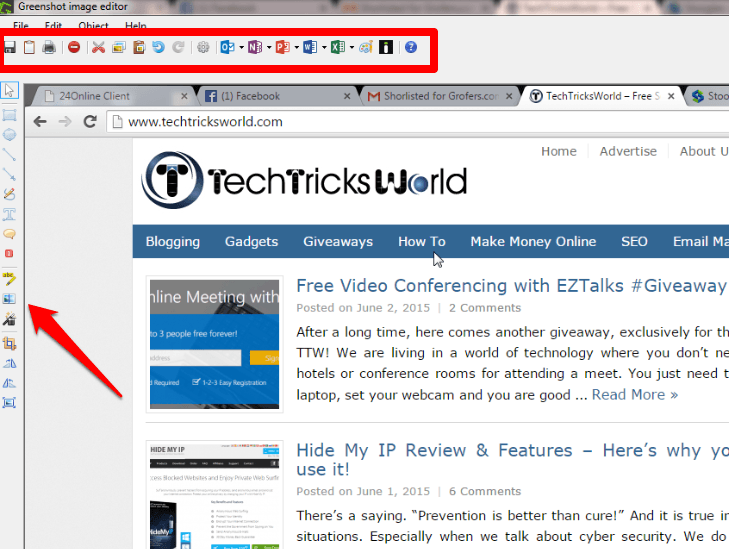
Greenshot
Greenshot is an awesome screenshot tool which is available for free, and this has some really awesome features that you can use to customise your screenshots to make them look attractive. We have a dedicated blog post about Greenshot which you can read by clicking here.
-
Acethinker Screen Grabber
Acethinker Screen Grabber is a software tool that not only captures screenshots, but it records the screen as well. Moreover, it has a full feature screenshot features packed in it. You can read more about its screenshot feature by clicking here.

-
Lightshot
Lightshot is a very popular and tiny software tool for capturing screenshots on Windows 10. It does have a few good features that are needed in a screenshot tool. These features enable you to take good screenshots and customise the way you want.
You can quickly upload the screenshots to cloud and share the link with your friends and colleagues. Download it here.
Conclusion
Taking screenshots on Windows 10 or any other versions is an important thing as we need screenshots for various purposes. Especially if you are a blogger, you would need it quite often. These are some of the best ways, or you say methods to take screenshots on Windows 10.
If you have any other ways of taking screenshots, do share in the comments.


Hi
Atish,
Such a nice post. You have listed different ways to take screenshots on Windows 10 and that’s great. I just knew about the PrtScr button to take screenshots. I will try these tricks to capture screenshots on Windows 10. Here, happy to know about some of the software to take screenshots on Windows 10.
Thanks for sharing.
Have a great day.
Praveen Verma
Wow, I don’t even know that there are so many ways to take screenshots, I only used PrtScr before.
Thanks for sharing.
Hello Atish,
Before reading this article I only knew about how to take a screenshot on the browser, but now I can take a screenshot of any part of my Windows 10 PC. Very easy and helpful trick.
hi first time check too many way to take ss thanks for your valuable sharing
most of the times, i used lightshot addon but i think i love that alt+prtscr