In this blog post, I am going to share one of the methods of installing WordPress on your hosting server. If you have already used cPanel, you know how easy it is to install WP using that, but there are some developers and geeks who love to do it using FTP client or in some cases, if your web hosting company doesn’t offer you cPanel, then you need to install it this way. Installing WP using an FTP client such as FileZilla is also easy, but it does take a few extra minutes than what it takes using cPanel.
So, in this blog post, I am going to show you the step by step method to install WordPress CMS to your Web hosting server using FileZilla.
Before we start, let’s talk a little about FileZilla. So what is it?
FileZilla is an FTP (File Transfer Protocol) client that allows us to transfer files from our computer to a remote server. That means we can upload files from our computer to our hosting server as hosting server is nothing but a web space on a remote server computer. All you need is the credentials to connect to the hosting server.
There are many other FTP clients other than FileZilla such as CuteFTP, SmartFTP, etc. You can use any of your choice. I use FileZilla.
FileZilla is an open source FTP client which means you can use it for free. You can download it from its official website.
How to install WordPress on Your Hosting Server using Filezilla?
The very first step is to download WordPress Software from WordPress.org website.
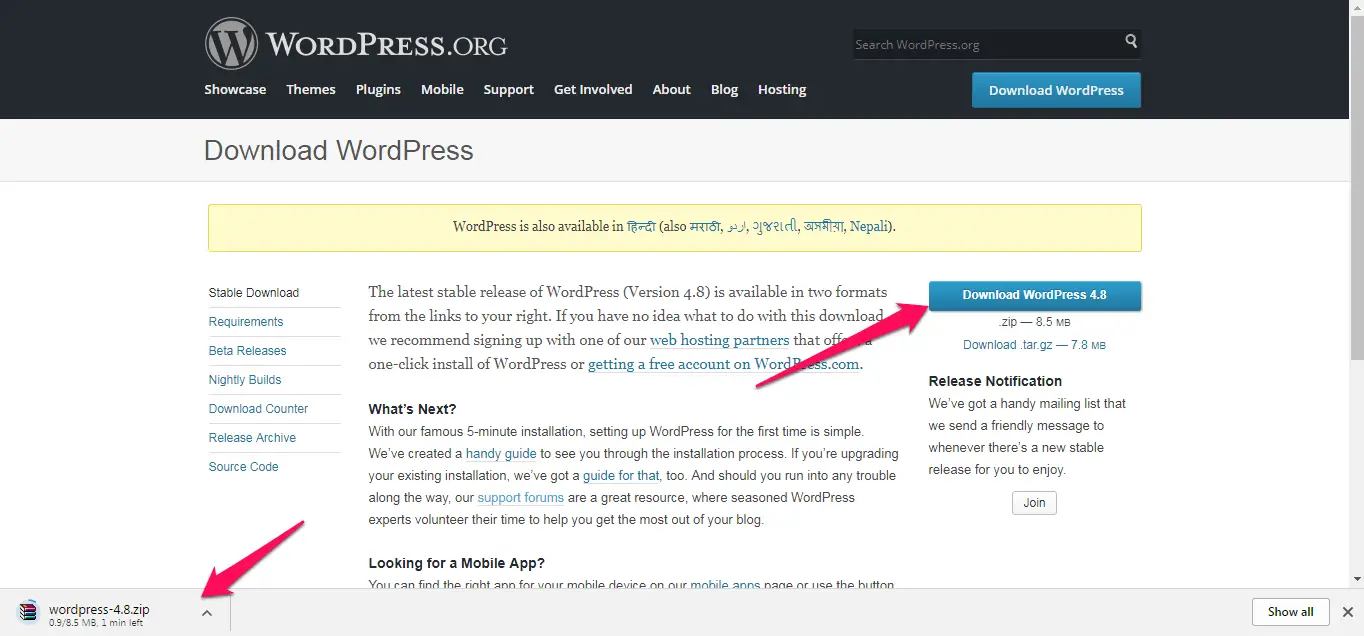
Once downloaded, you will see the zip file. Extract it.
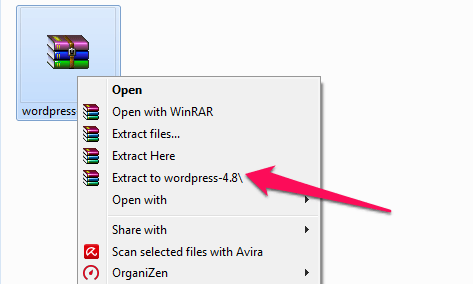
And, you will see WordPress folder after extraction. Now, when you open it, you see these files there.
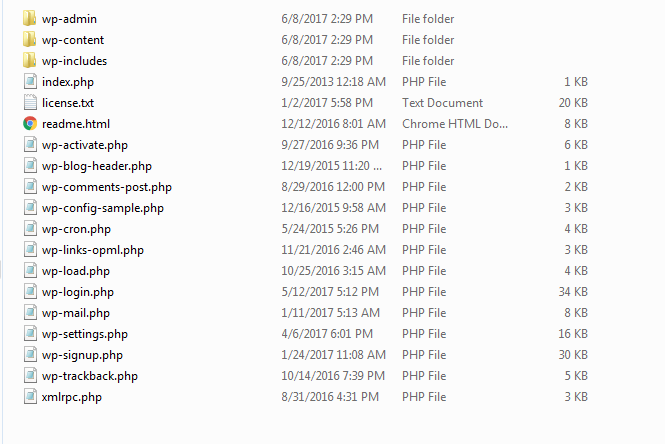
We need to upload these files to the server. Let’s do it.
Step 1 => If you have already downloaded, and installed FileZill, run it. You will see its interface:
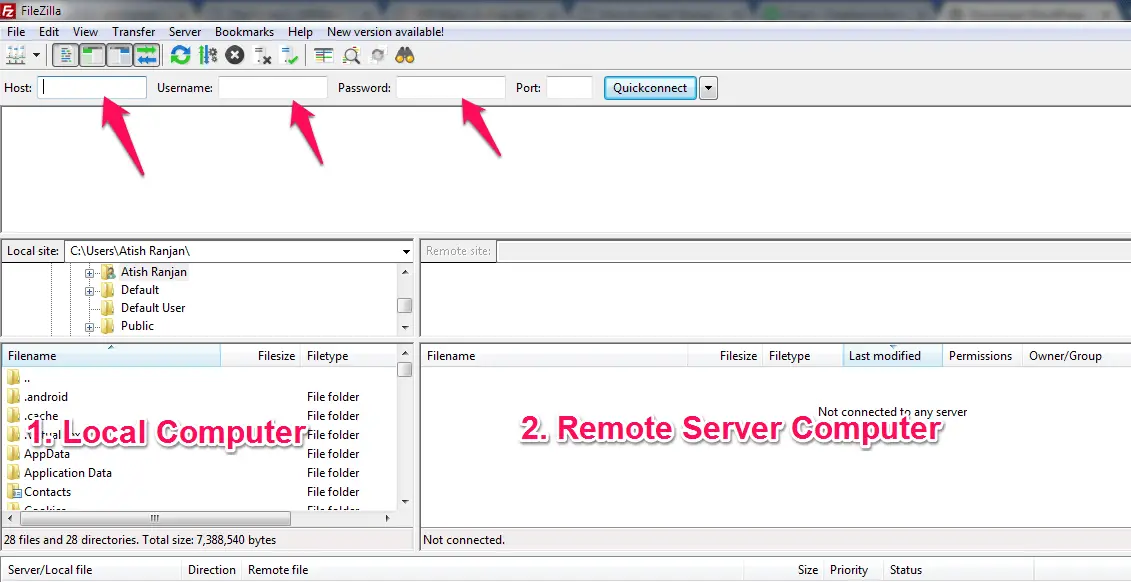
You need to enter Host, Username, and Password to connect to your hosting server. And, these details you get from your hosting provider at the time of buying the hosting account.
Step 2 => Enter those details and connect to the server.
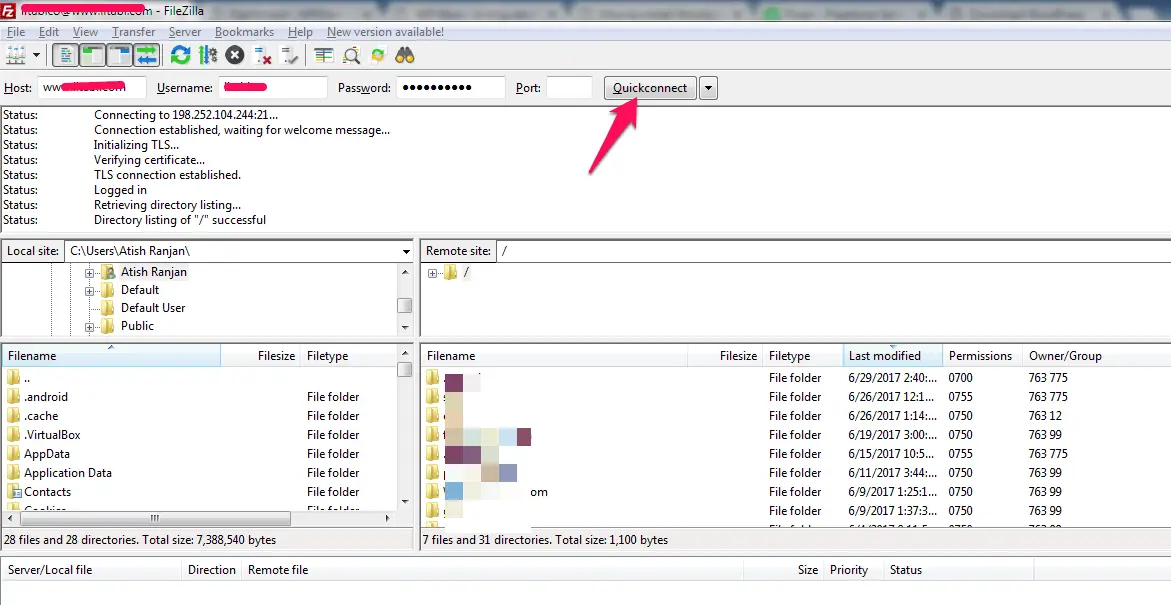
As you can see, I entered the details and clicked on Quickconnect. In a few seconds, FileZilla connects to the server. You can confirm by checking the status showing in the FileZilla, and also on the remote site side, you will see the directory listing appearing.
So, now, we are ready to transfer the files to remote server.
Step 3. In the left, Local site side, locate the WordPress files which you have downloaded, at the right side, locate Public_html directory and open it.
Want to know how to add an Addon Domain in cPanel?
Here is the video that will guide you to add an Addon Domain in cPanel, and also, it will show you how you can install WordPress on it.
But, here we are considering that we are building the site on the primary domain. So, we will upload the files directly to the Public_html directory.
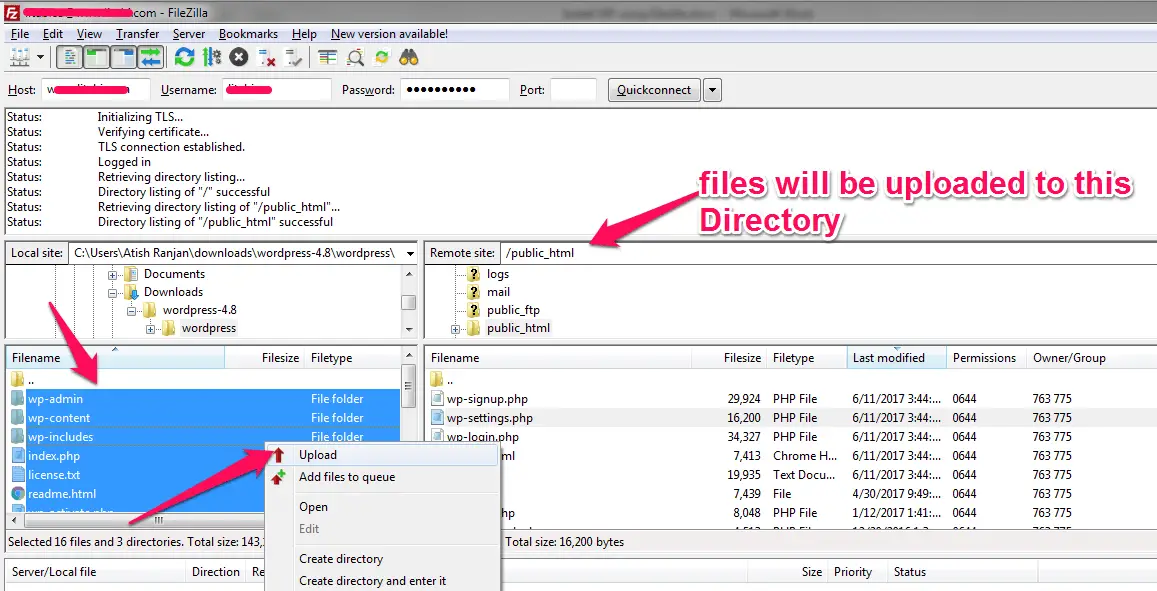
Just, just select all WordPress files at the left side by Pressing ctrl A, and right click, then click Upload. And, the upload process will be started. Now, we need to wait till the transfer is completed. Once it completes, it will be disconnected from the server. Or, you can check the status which will say “Directory listing full”.
Note: It may not always be the Public_html folder. If there is no such folder, you can just upload files on the root. Different hosting may offer differently.
Step 4 => Our half work is done already! 🙂 Now, it’s time to create Database which is needed to store the data which we will upload in the form of content, media, etc.
How to Create a Database in cPanel?
Go to your cPanel, and look for this:
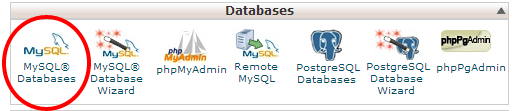
Click on it, and you will see an option where you can enter a name such as “test” I entered.
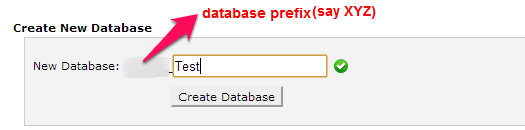
And, click Create Database.

You will see the confirmation
Now, click Go Back, and now, create a Database User and Password for that.
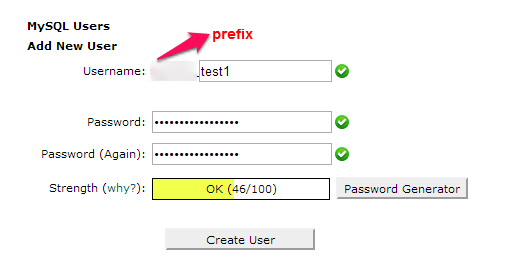
Fill the details, and click Create User.
Now, you will see a confirmation that user is created. It’s time to assign the user to the database. Go back, and look for this:
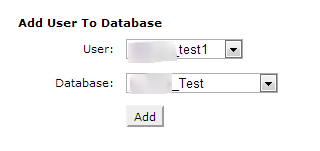
You just need to select the User (which we just created) from the dropdown and the database from dropdown (which we just created). And, click Add. Now, this page will be shown:
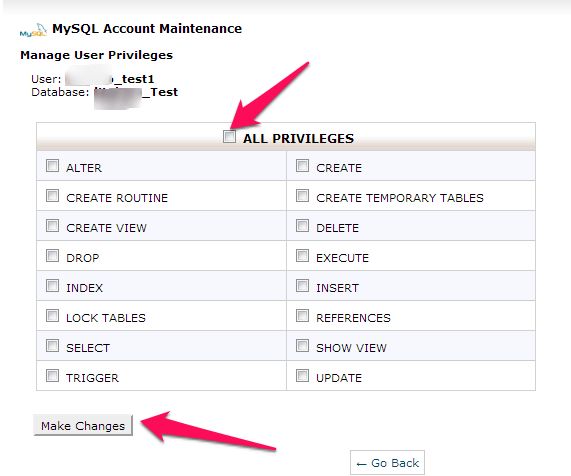
Check ALL PRIVILEGES, and click Make Changes.
Now, all set. Database name, Database User, and Password, all are created. Keep these details saved in notepad.
Note: You can create the database using the above method while the files are being uploaded through FileZilla. This way, you can save time because while files are uploaded, it’s good to complete this task meanwhile.
You can check out this video that explains how to create MySQL Database in cPanel:
Let’s see how:
Go to the Web Browser, and type example.com/wp-admin (replace example.com with the domain on which you are setting up the site), and hit Enter.
Once you do it, you will see Run the install, click that, and you will see this
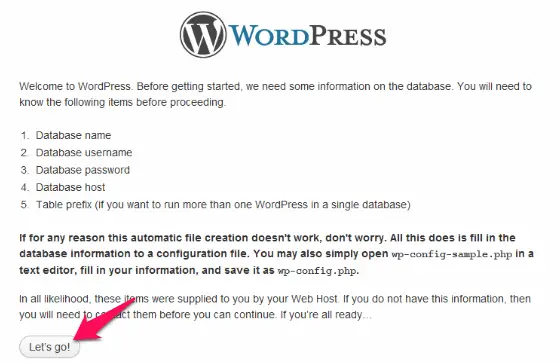
Click Let’s go.
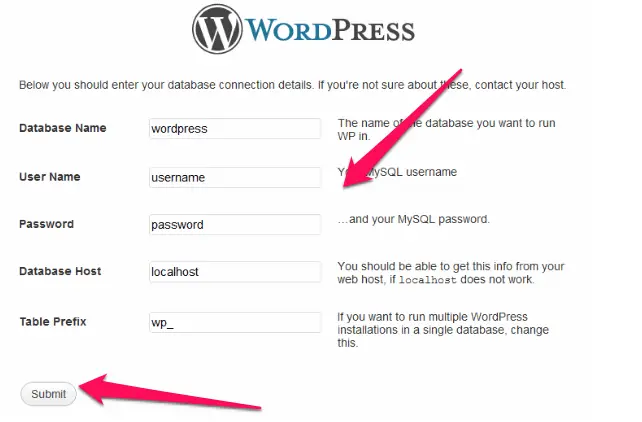
Now, go back to Step 4 where we created the Database and User which I advised to keep in a Notepad. Now, copy and paste them here as required.
In the Database Host, keep it localhost, and in Table Prefix, you can either keep it or change it to keep something else. Better you change it.
Now, click Submit.
In a few seconds, you will see the page where you have to enter your site name and admin details:
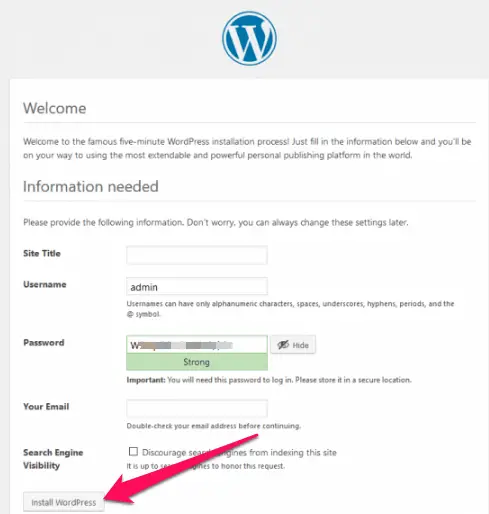
Enter the details as you want, and click on Install WordPress
Note: Keep the username something different than “admin” and keep a strong Password.
All done! WordPress is installed! 🙂
Now, you can log into your blog by going to example.com/wp-admin, and enter the login details; you have just created above. And, start setting up the things.
And, when you will open your domain such as example.com, you will see the Hello World blog post which is default one. You can delete that, and start posting.
Over to you
I know most of us want quick work, and so we use the option of WordPress install given in cPanel. But, many web hosts don’t provide such option. In that case, this option of transferring WP files to the server may work quite well.
Hope you liked this guide. If there are any questions, please do write in the comments, and I will get back to you with a solution.


Add Comment