Today I want to share some information on how to make a video from photos in a minute using just one free program. Video creation is now a very promising trend on the Internet. Many people make their videos and upload them to YouTube, on their websites and blogs, etc. The essential thing in this business is making the video unique, so maybe YouTube will take it to the top, and you’ll become popular.
So let’s get started!
- Examples of videos you can make from photos
- Free software for creating videos from photos
- Instructions for creating video clips from photos
- Free music for videos
To clarify what videos you can make in a couple of clicks, I’ll show you some real examples. These videos use the panoramic effect of viewing photos. I really like this method, and I recommend it.
It is possible to create such a simple video in a couple of clicks with the help of a free program, which I will present to you, further.
Free software for creating videos from photos
Nowadays the choice of programs and services is quite wide. As for me, I opted for Freemake Video Converter, which you can download for free from the official developers’ website. In reality, the possibilities of this program go beyond the name. Not only it allows you to convert videos in different formats, but also to crop videos, rotate them, merge photos into a single video clip with spectacular transitions. Of course, for more complex projects, you should use programs like MovieMaker, Camtasia, etc., but to quickly create a simple video from photos Freemake Video Converter is enough.
Instructions for creating video clips from photos
Download Freemake Video Converter for free and install it on your Windows computer.
Then follow these steps or check how to create a photo slideshow with music:
- find the photos you need for a video.
- set the order of the photos.
- add photos to the program.
- select a video format for your presentation.
- Click the Convert button. Done!
Now let’s look at each of the steps in detail:
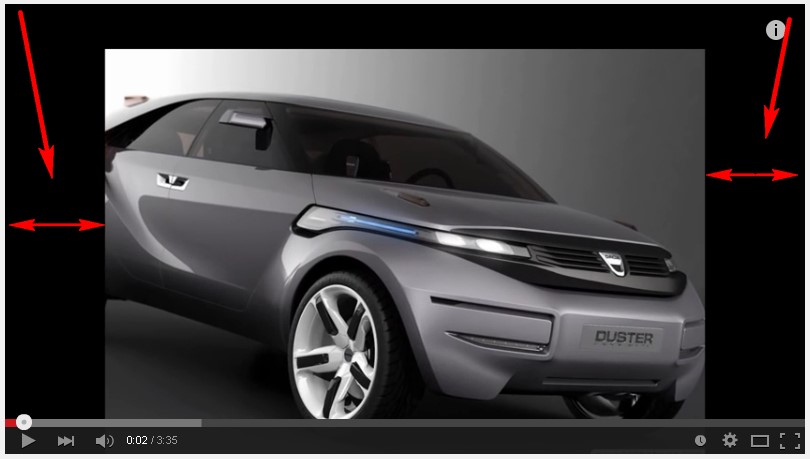
- I advise you to choose photos with large size of at least 1000×700 so that they completely fill the screen space; otherwise, there will be black bars on the sides of the screen. You can see how it will look in a video below:
- Next, you need to decide in which order the photos will be displayed, since you need to upload them in the same order.
- After determining the order, upload the images to the program. If you inadvertently added pictures in the wrong order, delete everything and reload again.
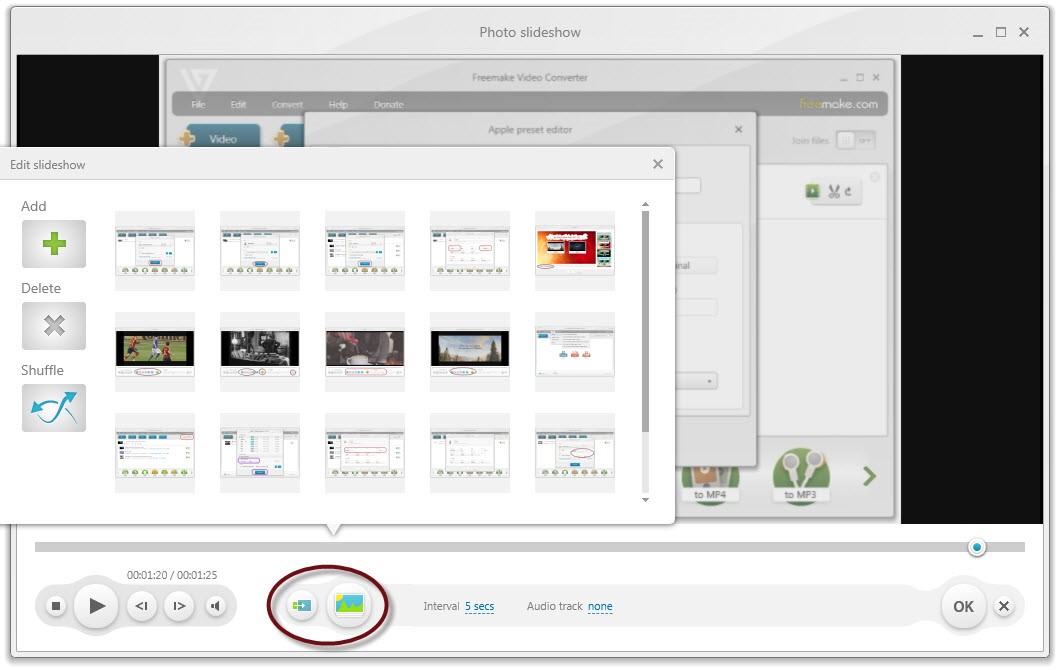
- Now it is necessary to choose the option to view the photos on the screen: a normal change of frames or a spectacular panoramic appearance of the images.
Also, you need to set the duration of the frame: I suggest you put 5 seconds.
- If you want, you can add audio or music track to the video.
- Finally, select the video format (AVI, MP4, MKV, MPEG, etc.), click on the “Convert” button and wait for the program to create a video automatically. The video will be saved on your computer, in a specified destination folder.

Agree that watching videos without audio is not very interesting. However, if you plan to post a video on YouTube, you should keep in mind that there are strict rules regarding the audio tracks. The music you wish to use for the video must have the appropriate license for its free distribution. Otherwise, the music author can file a complaint with YouTube technical support, and it will block your account for copyright infringement.
Therefore, in order not to fear for the future of your channel, use your music or choose something suitable from the list of free audio tracks offered by YouTube. You can learn more about YouTube tips and tricks here.
This concludes my lesson on creating a video from the photos.


Hi there,
This is a nice post ! I guess there are four ways to make a video. The first one to contact a advertising agency, they’ll do something exceptional but it is pretty expensive. The second is to contact a digital agency, it is much more adapted I believe. The third one is to do it yourself by using pretty advanced tools such as Adobe Premiere and After Effect. Ths last one is to DIY as well, but with an easier software, like you’ve just shown. This is the only I experimented and I did it with Moovie Maker. I made two videos made of pictures, but you can use pices of films too.
Thank you for your article, keep writing !
Chris
Nice post. This is certainly helpful for people like me who do not need a top-video and also have no idea of using high-end video editing softwares. Thanks for sharing.