Congratulations! You’ve finally bagged the laptop of your dreams, or at least the best your money could buy. However, your new device is hardly ready for use. And if there’s any chance it is, it’s not equipped to suit your every need and preference.
When you buy one of the high-end laptops retailers will often be generous enough to install some essential software and driver packages, as well as tweak the settings to your liking at no additional cost. But if yours is a budget or discounted laptop, you’re often left to carry the burden yourself.
As scary as that might sound, fear not; for below are the steps to follow, to ensure your brand-new laptop is up and running as soon as possible.
Step 1: Installing the operating system
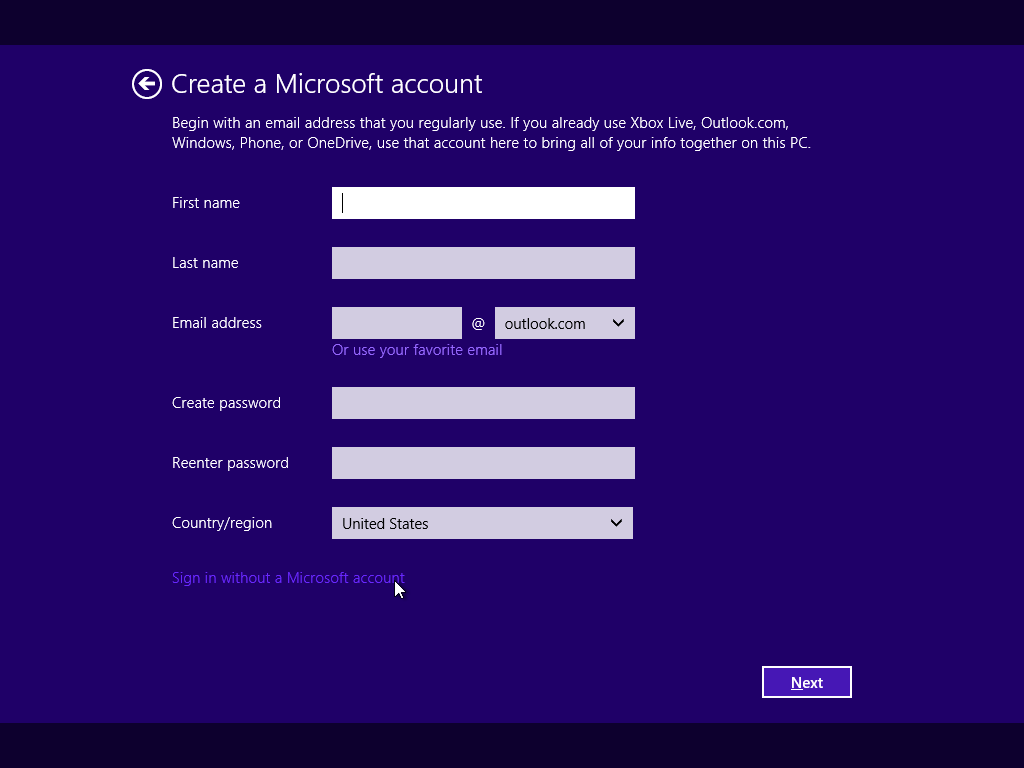
So, you pull your laptop out of its box and power it up for the first time. If you’re lucky, it’ll have a recent version of Windows installed and will boot up to a clean start page. Otherwise, you’ll have to go out of your way to purchase an operating system and install it.

Contrary to popular belief, setting up a laptop from scratch isn’t hard. As long as you have a valid copy, installing Windows is pretty straightforward. All that’s required is a few “OK” clicks and a lot of patience. Windows 10 will even get the latest updates automatically after installation if you’re connected to the internet.
After that, you can proceed to set up a username and a lock-screen password. If you have a Microsoft account, use your login credentials. If not, you don’t need to create the account just yet. Set up a local one instead.
Step 2: Tweaking the interface
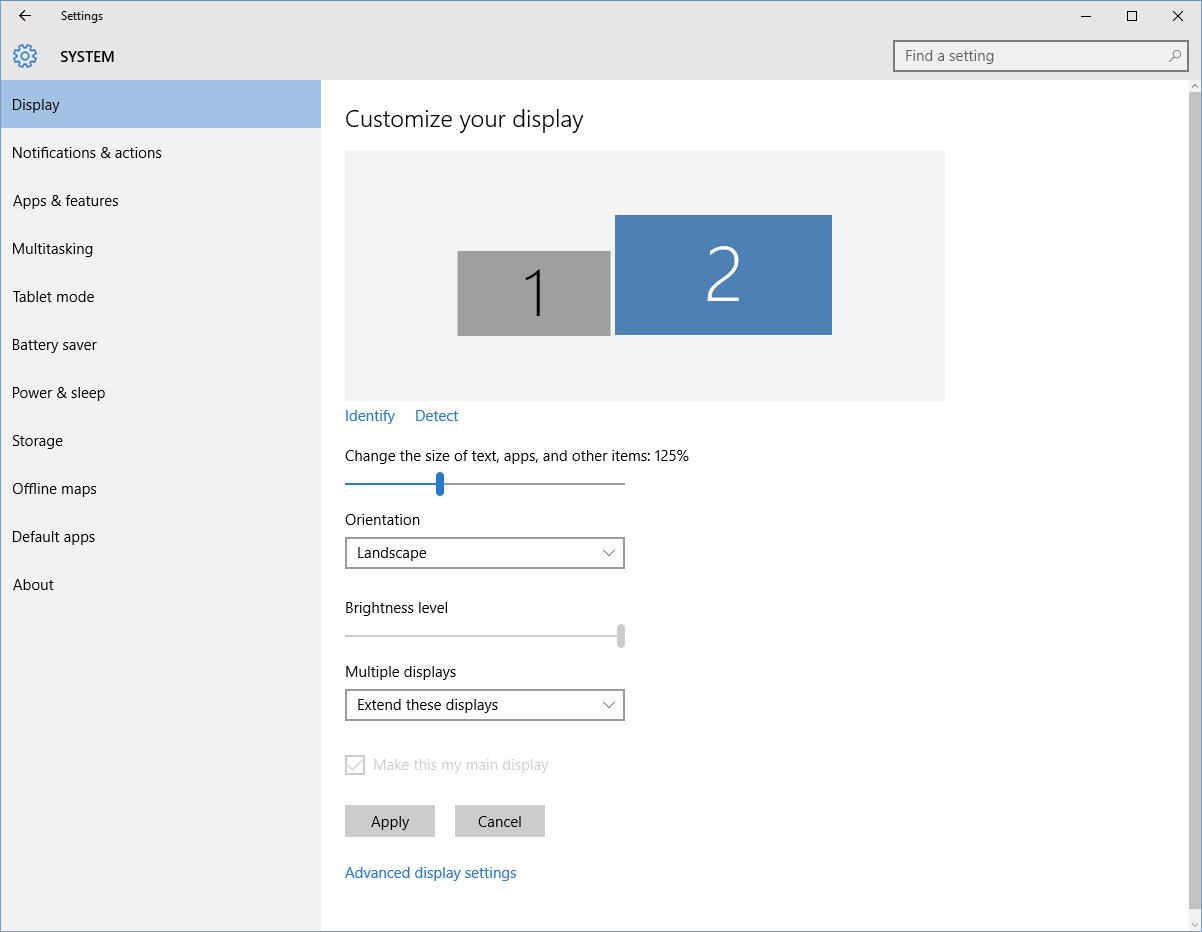
Presumably, your Windows installation has gone on well. While some Windows default settings might work for you, you’ll likely feel the need to make adjustments here and there.
First is the screen. The interface might have icons and fonts that appear too small or too large for your liking. Or maybe the color temperature or gamma levels are a little off. Use display scaling and color calibration to affect your preferred changes.
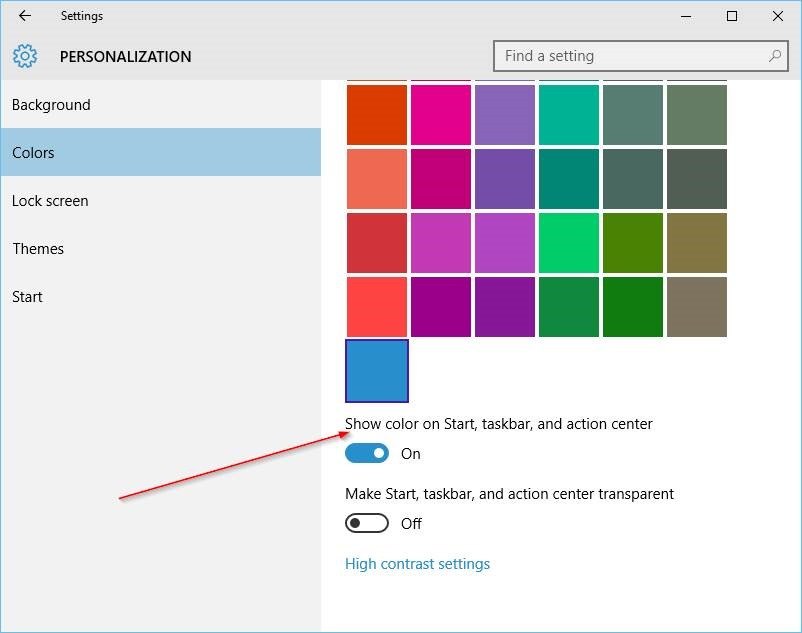
Moreover, personalize the Windows environment a bit by changing the color scheme, background and lock screen pictures, and themes.
Click the start button and check your pre-installed applications. Windows 10 comes with a wide assortment of apps, such as Groove Music, Mail, Maps, Movies and TV, Photos, News and Sports. Most of these will be arranged on the start menu. Take a few seconds to move things around and unpin the tiles you’ll likely not be using too much to make space for your favorites.

Step 3: Choosing your browser
Now that you’ve added a personal feel to the interface, it’s time to see what the web has in store for your laptop.
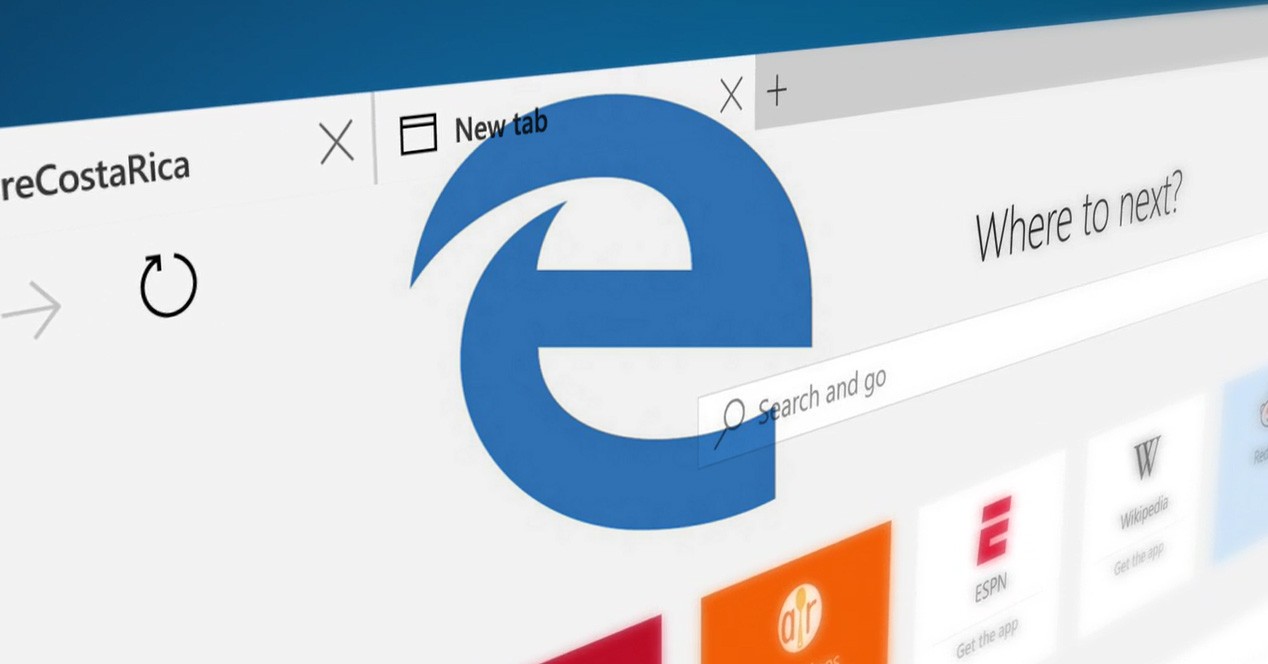
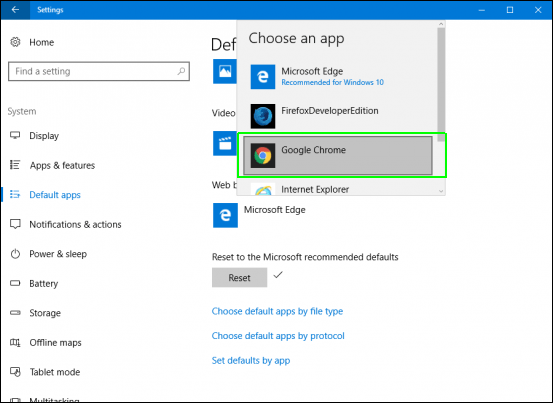
Off the box, Windows 10 comes with two browsers. On the surface is Microsoft Edge, and Internet Explorer is hidden in the Windows Accessories section. Despite the far IE has come, it’s still hard to recommend it as anyone’s default browser. On the other hand, Edge is fast and light, but if you are used to Google Chrome or Mozilla Firefox or want more flexibility, download and run the installers right away.
You can get Chrome here, and Firefox here.
After installing the programs, get on to App Settings and set your favorite browser as the default.
Step 4: Hardware drivers and software packages
If you’ve made it this far, you can use your laptop for casual use, such as watching movies, listening to music, viewing photos and browsing the web. If your needs are a bit more widespread than that, however, you’ll need to scour the Internet for the relevant software.
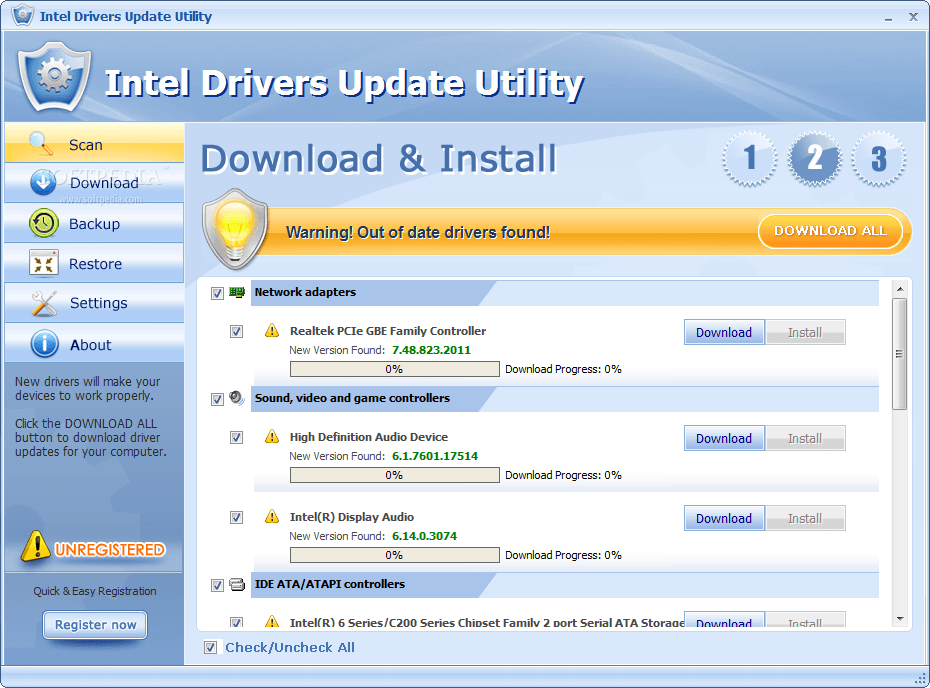
Windows 10 comes bundled with the drivers required to integrate the core hardware parts into the system. But if you have extras, such as graphics cards, external sound systems or memory sticks, they won’t work unless you find their respective drivers.
Luckily, you can find most of them on the manufacturers’ websites. Some hardware makers even have driver utilities downloadable from their sites for easier installation.
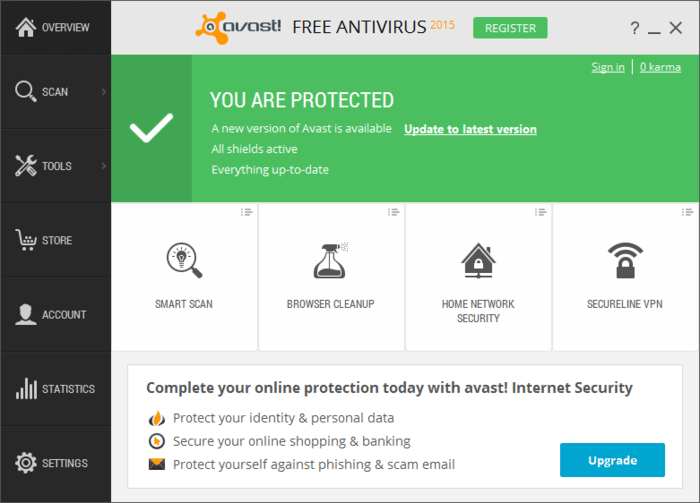
Once you have all your devices installed and working correctly, begin building your software collection. Of course, your first packages will incline on your preferences, but it’s standard practice to start by acquiring an antivirus program.
Windows Defender will be installed and active by default, but for a more comprehensive feature set, consider third-party apps. Even free programs like Avast Free Antivirus and Bitdefender Free Edition offer much more than Windows Defender.
Step 5: Syncing your files
A new laptop is not any good if it doesn’t have all your important data. If you’re coming from an old computer, you’ll want to move your documents, photos, videos and other essential files over to your new device.
Windows 10 comes with OneDrive installed. If you had stored your files in OneDrive, your new computer would automatically download them when you link it to your Microsoft account.

Third party applications such as Google Drive and Dropbox can also be used to transfer the data you need from your old computer. But when cloud storage is not an option, you can copy the things you need onto an external drive and move them manually. Whichever way you choose, having your previous data in your new laptop will enable you to make the transition seamlessly.
Step 6: Finishing up
Although not essential, there are still a couple more things you can do to better your Windows experience.
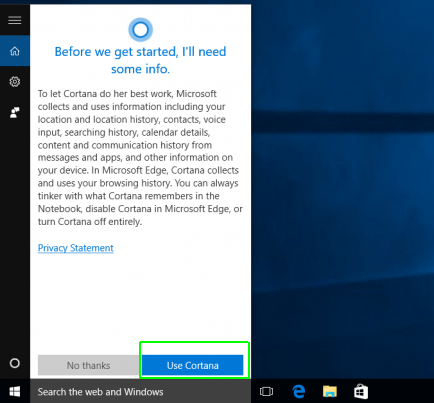
For instance, you could configure Cortana – Microsoft’s built-in virtual assistant – for help with setting reminders, finding files and searching the Internet. Performing some voice commands will give you alerts for real-time things like the weather, news, and sports.
To activate and configure Cortana, you’ll need to be logged in to a Microsoft account.
Giving Cortana personalized information about your favorite places, interests to follow, etc. will get you alerts and tips that are specifically tailored for you.
Additionally, you may want to unhide file extensions and hidden files in File Explorer to have a better view of what’s on your hard drive. Having your extensions visible can come in handy when viewing and sharing pictures, for example, to show you whether the file you’re handling is a JPG, a PNG or a GIF.
Summary
Getting a newly bought laptop user-ready can be a hassle, especially when you have no idea where to start. Following the steps above will make the process a lot easier.
Vigilance Chari covers tech news and laptops at LaptopNinja. She is an International presenter and published author. When she’s not writing, she spends her time as an enthusiastic professional party planner and part-time painter.


Very useful post, I think following this tutorial one can easily setup the new windows laptop. I have been a windows user since a long time and I must say its pretty awesome O.S
Thanks
Hi,
The above post is a huge help for the beginners who have just started their work.
I would say that just keep up the good job.
And have a good week ahead.
This is so good for beginners. I remembered when I purchased my first laptop and that experience was amazing. Every day I have to face a new challenge.
Anyways, I enjoyed it
Hi,
I can say that this is just a quick setup, which can not be explained as simpler as above guide.
Frequently user struggle with setting up drivers but in window 8/10 it is just simple to get it done.
Last but not the least, syncing files with laptop is now much more simpler.
Nice guide.
Thanks for sharing.
>SK Lohar
Hello Atish,
Thank you for dropping an article related to setting up a newly purchased laptop and the things you shared are really good enough to impress any reader and I have got impressed too with your words and your relevant information. But, you should elaborate this topic with more comprehensive tips like installing an Media player as most of the latest articles come with Windows 10 and unfortunately, Windows 10 does not come with any pre-installed Media Player.
Hello Kabir,
Though this is not written by me, I will try to write on the topic you suggested. Thanks for coming by.
That really did provide me with some genuine help to set up my new Windows Laptop.
Thanks.
Hi Team
This is a very good article for the newbies but most of the time we know what are our requirements and fine tune later on. Avast is not a very good choice of antivirus it does not help us to remove most critical viruses. So in place of free anti-virus, I would go with quickheal- It is much much better anti-virus.
Hello Swarnima,
You can either go for paid avast too. Avast has a boot time scanning feature that can kill the viruses before they load.
Thanks