Android is one of the most famous operating systems when it comes to smartphones. The reason why Android is so popular is simple because it allows the functionality without being expensive to own. Well, speaking of functionality, Windows is still the best operating system, well, not for phones but for the overall experience on laptop or desktops. What if you were told that you can install android applications on your Windows 7 operating laptop or desktop? Bluestack is the answer for all your queries regarding the subject. To Download Bluestacks for Windows 7, follow the simple steps listed below in the article.
What is Bluestacks?
Bluestacks is the software which allows users to download and operate Android applications on Windows. It is safe to say that it is a high-end Android emulator which offers all the applications that are available on Google Play Store for download on our PC or laptop.
How to download Bluestacks for Windows 7?
Downloading and installing Bluestacks can be pretty tricky as it requires space allocation as well as a few Windows framework. Fortunately, when you download Bluestacks for Windows 7, you will also be getting the required programs needed to run Bluestacks.
-
Download Bluestacks for Windows 7
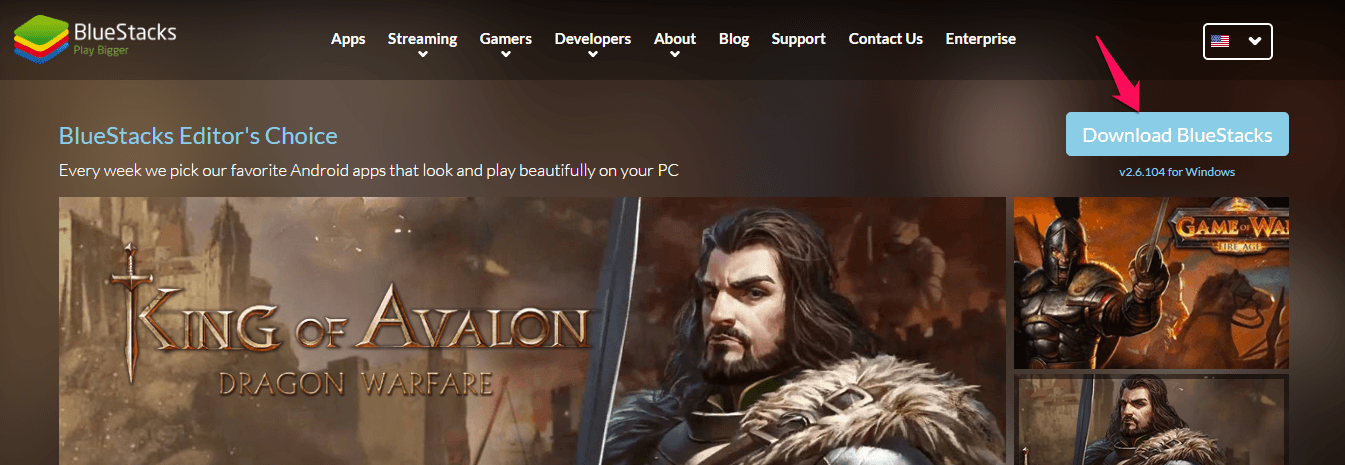
As Bluestacks is a renowned software company, you don’t have to search a lot for its setup or .exe file. All you need to do is visit http://www.bluestacks.com/ and click on the download button to Download Bluestacks for Windows 7.
-
Installing Bluestacks
The Bluestacks .exe file is a little over 300 MB, and when it is successfully downloaded, all you need to do is click to initiate the installation of the application.
-
Run the setup
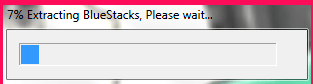
After Bluestacks setup file is being opened, it will ask you to run the program. Click on ‘Run’ to proceed which will direct you to another window in which it will start extracting data.
-
Installing necessary programs
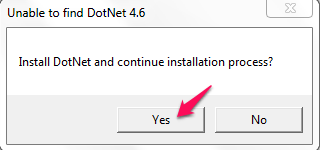
To Download Bluestacks for Windows 7, you will need some programs as the basic requirements. It is a great thing that Bluestacks installation process allows us to download and install those files directly. For example, in this case, the DotNet framework was either outdated or missing. So the Bluestacks setup automatically asked to download the missing program and continue installation.
-
Setting up Bluestacks
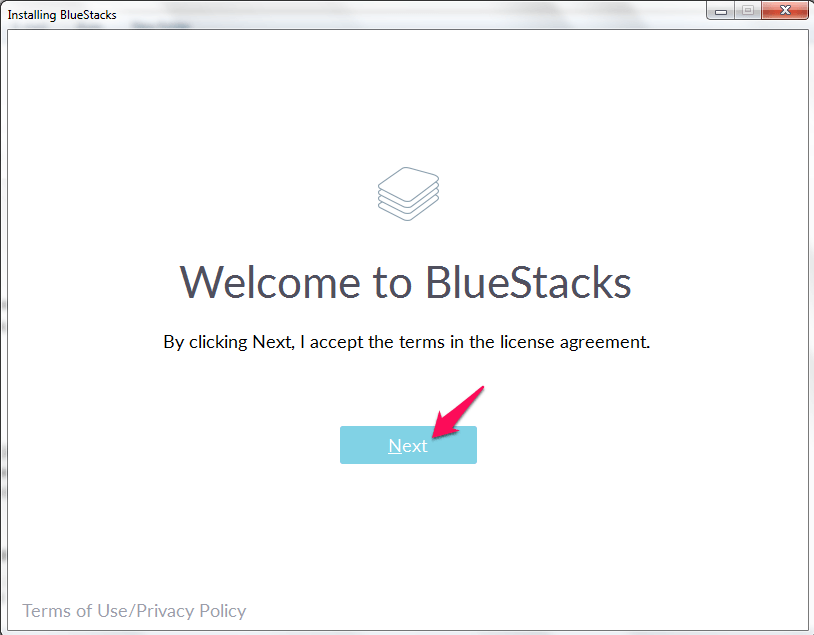
After Bluestacks is successfully installed on your Windows 7 PC or laptop, all you need to do is set it up. In the first window, a Welcome message from Bluestacks will be written along with the next button which you will have to press.
-
Selecting the Data location
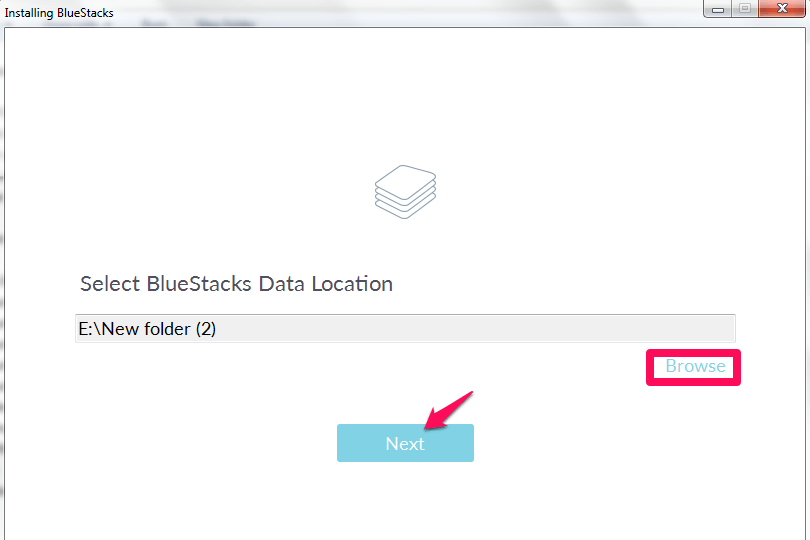
One of the great things about the Bluestacks software is that you don’t have to install the data in the C drive which is the primary drive. The data in Bluestacks can get bigger as you download more and more Android applications using the software. So it is safe to select the location of data in the drive which is almost free. This way, you will not only save space in the C Drive but also help in preventing the desktop from slowing down. After you click on the next button, Bluestacks will ask you to select the data location. It will show the C drive as a default, but you can change the location by clicking on ‘Browse’ button and selecting your source and drive as well.
-
Enabling more options
In the next step, Bluestacks installation will ask you to enable ‘App Store accesses and ‘Application communications.’ It is recommended to have them enabled in order to get more personalized suggestions in the Bluestacks store. The application communications will allow you to interact with your friends and even lets you chat with them. To proceed further, click on the ‘Next’ button.
Bluestacks is successfully installed.
Getting started with Bluestacks
The first part was Download Bluestacks for Windows 7 but it’s not over yet as setting up of Bluestacks is also an important task.
-
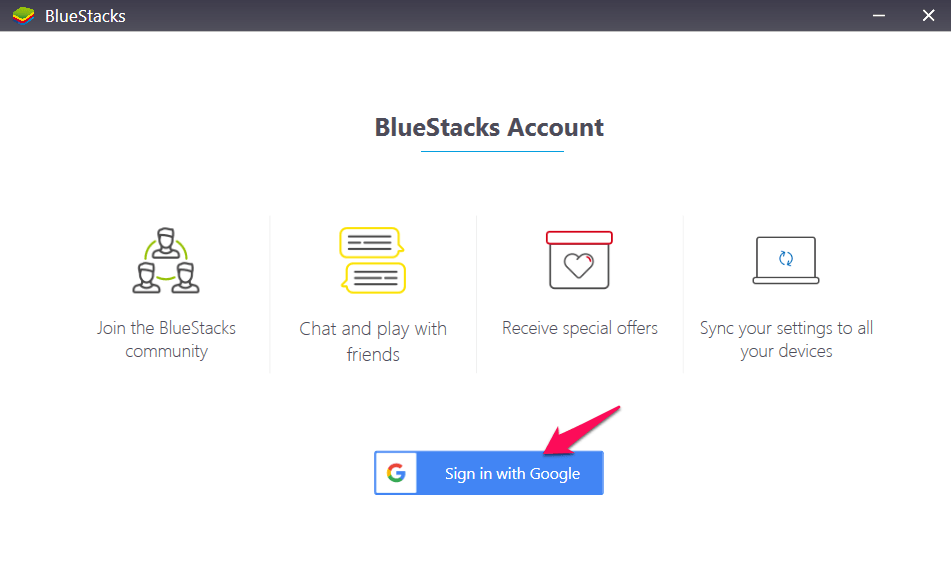
Log in
Since you have completed the Download Bluestacks for Windows 7 and installation as well, Bluestacks will ask you to log in to your Google account, just like in Android smartphone or tablet.
-
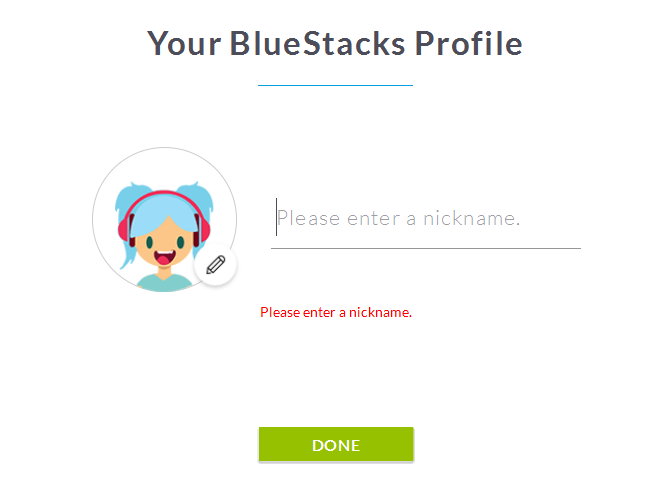
Setting up the profile
Bluestacks will now ask you to set a unique username for the software and downloads. Fill in a unique username and click on done.
-
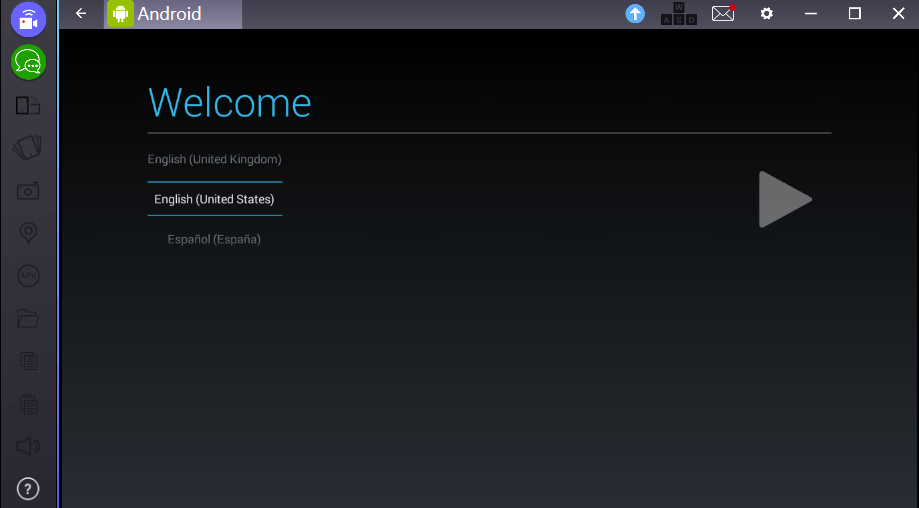
Language settings and Google Play Store log in
Now, select your preferred language in Bluestacks and then log in using your existing account of Google. If you don’t have an account on Google or Gmail, then you can simply create a new account.
-
Enjoy Android applications and games on your Windows 7
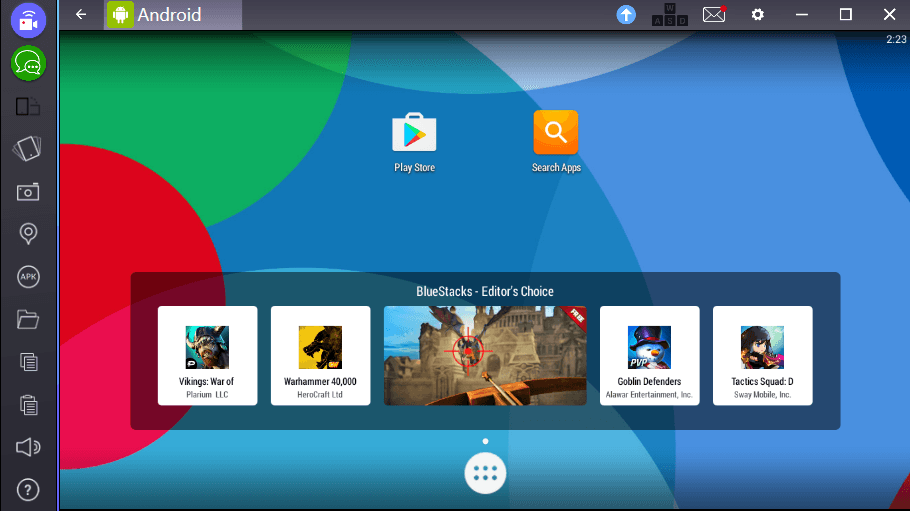
After the formalities are done successfully, you will be welcomed to the home screen of Android, just like we see on tablets in landscape mode. On the left, you can see different shortcuts for the camera, portrait or landscape modes, volume, file manager, etc. At the top, you have a back button as well as settings for Bluestacks. Open the play store and download whichever application you fancy. Users can download social media applications like Facebook, Twitter, etc., Games like Real Racing 3, Candy Crush, etc., and many more utility applications as well.
Over to you
You can download Bluestacks for Windows 7 now to explore the world of Android on your PC or laptop. If you get any problem while installing, please do ask in the comments.


Thanks Atish Ranjan for such a comprehensive and detailed tutorial. It would be great If you shared the download link for Dot Net Framework.
Here you go => https://www.microsoft.com/en-us/download/details.aspx?id=30653
Thanks Atish for this tutorial for bluestacks. Is this works in all version of win7
Yes, it should work on all Windows versions.
can i run all kind of apk file? can i upgrade android os ? thanks for such a good post.
Yes, you can run almost all APK files using Bluestacks. I am not sure about upgrading OS version on Bluestacks as I never tried it but I am sure that you get upgraded version of Android in latest Bluestacks.
thanks for sharing tips on bluestacks for windows. Can you give me suggestions for how to record screen, which one best and how to install, usage too. thanks in advanced.
cheers.
Mahesh.
Hello Mahesh, do you want to record screen of your computer or your phone?
Yeah, I really hate playing online games on my phone’s small screen. Bluestacks 2 works fine for me. Thanks!
Can i Run Multiple emulators using Blue tacks..
Didn’t get you Mahesh. Multiple Emulators on Bluestacks?
I think you meant multiple apps?
Yes, you can run multiple apps on Bluestacks
Thanks for this article, I love and really enjoy this article.
Bluestacks is really a good software to play a role on pc.
Thanks again.
Hello Atish,
Thank you so much for sharing with us a complete method to install Bluestacks for Windows 7. No doubt this is an excellent way to use Android applications on our PC.
Once again thanks for the fantastic tutorial 🙂
Regards
Mairaj
Hello Mairaj,
Thanks for coming by. Yes, bluestacks is the best Android Emulator.
Hi, Atish Ranjan Sir 😀
Bluestacks is the best android emulator though we have up to 15+ various emulators. Moreover, Bluestacks 3 is yet another biggest update with all major bug fixes, error, etc. Setting up the profile is as same as the Bluestacks? or any modifications are there? Would like to know from you.
Thank You 😀