Google Docs has indeed been a simple and easy alternative to your Word Processors. However, once you have added an image to your Google Docs document, have you wondered how to move images in Google Docs to your desired location? It is quite easy and simple to move images to the desired locations through a few simple steps.
We will make an attempt to understand how to move pictures on the Google Docs app or web version by following a few simple steps.
How to Move Images in Google Docs?
The steps involved in moving the images in Google Docs will be extremely easy and simple. You do not need to go through a complex process for the purpose.
Here is how you would insert and move your images on Google Docs:
- Launch Google Docs and open a new blank document.
- Choose an area in the document to insert your image.
- Click on Insert button and then choose the Image option.
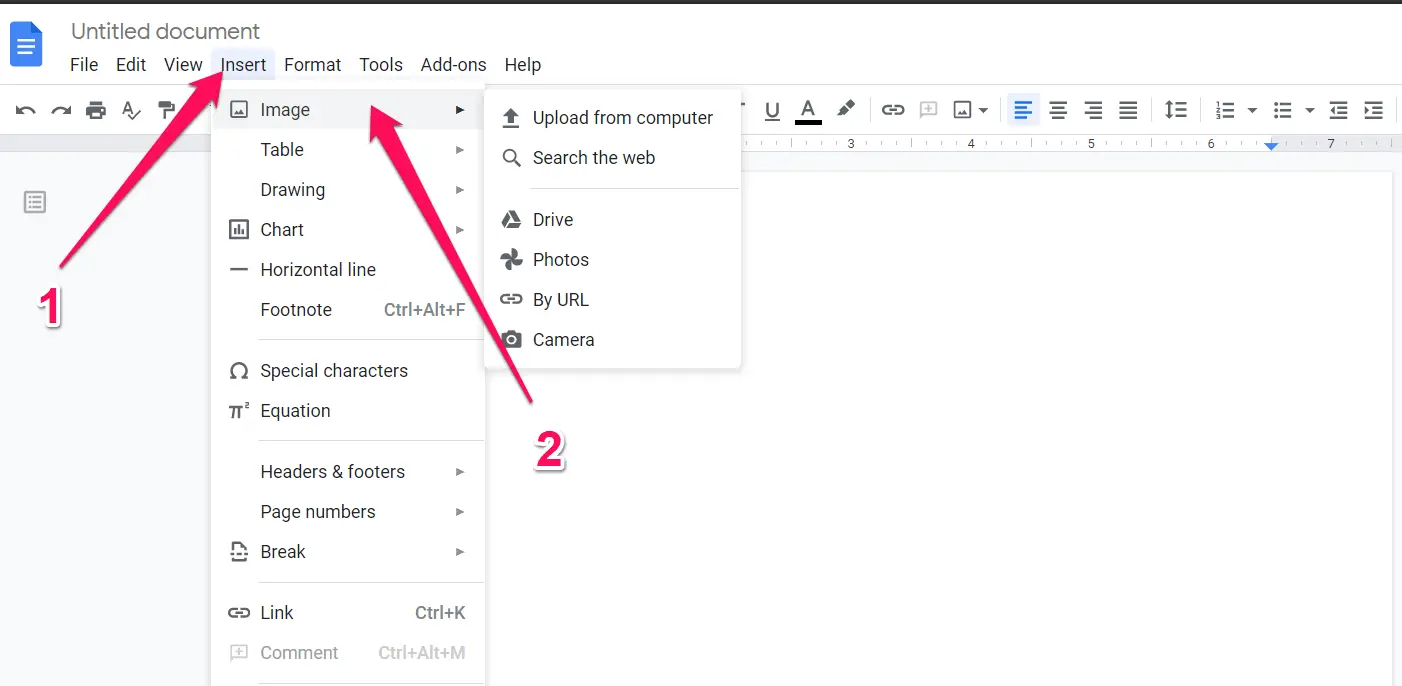
- Browse for your image and pick the image you want to add.
- You can pick your image from any folder within your computer, or over the web. You may also pick it from Google Drive or Google photos. You can even choose to click a new image if you need to.
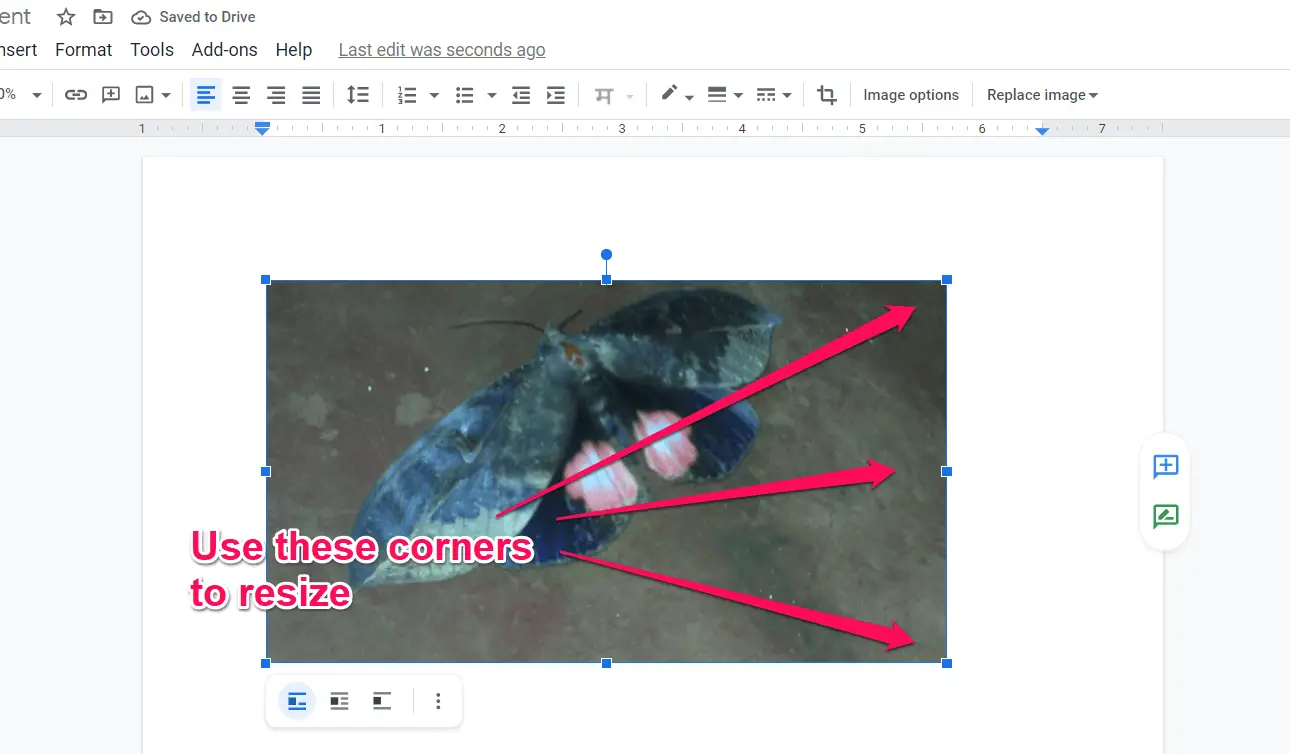
Once the image has been added, you can click on the image to select it and move it around to any location on the Doc. Simply drag the image once it is selected. You can even resize the image by dragging the corners on the selected image.
Where is Wrap Text in Google Docs?
Once an image has been added to a Google Docs document, you can insert the text around the image to achieve the wrapped text appearance on your document. Finding where is wrap text in Google Docs can be a little confusing if you have not used Google Docs before.
There are multiple options available to handle a combination of text and images in Google Docs. The three available options would include:
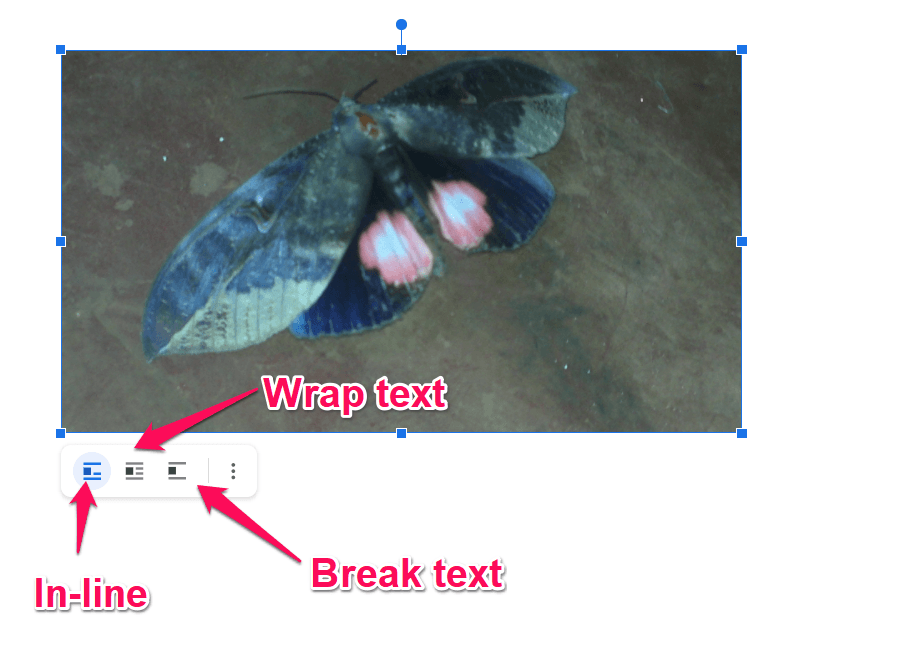
- In-line: This option includes the image in a paragraph as if the image itself is a text.
- Wrap Text: This option surrounds the image with the text around it.
- Break text: This option creates a gap between the image and the text.
Here is how you can access the three options on an image added to your Google Docs document:
- Click on the image added on the Google Docs.
- You should find the three options for the above methods on your image.
What is Text Wrapping?
Text wrapping refers to the way images and text are handled in a Google Docs document. The default option used by Google Docs in handling the image is to use the In-line wrapped text method.
The image is treated in the same way as the text when you use the In-line method to wrap the text. When you do this, it would be easy and simple to find how to move images in Google Docs. You can move the image just the way you would move your text all through the document.
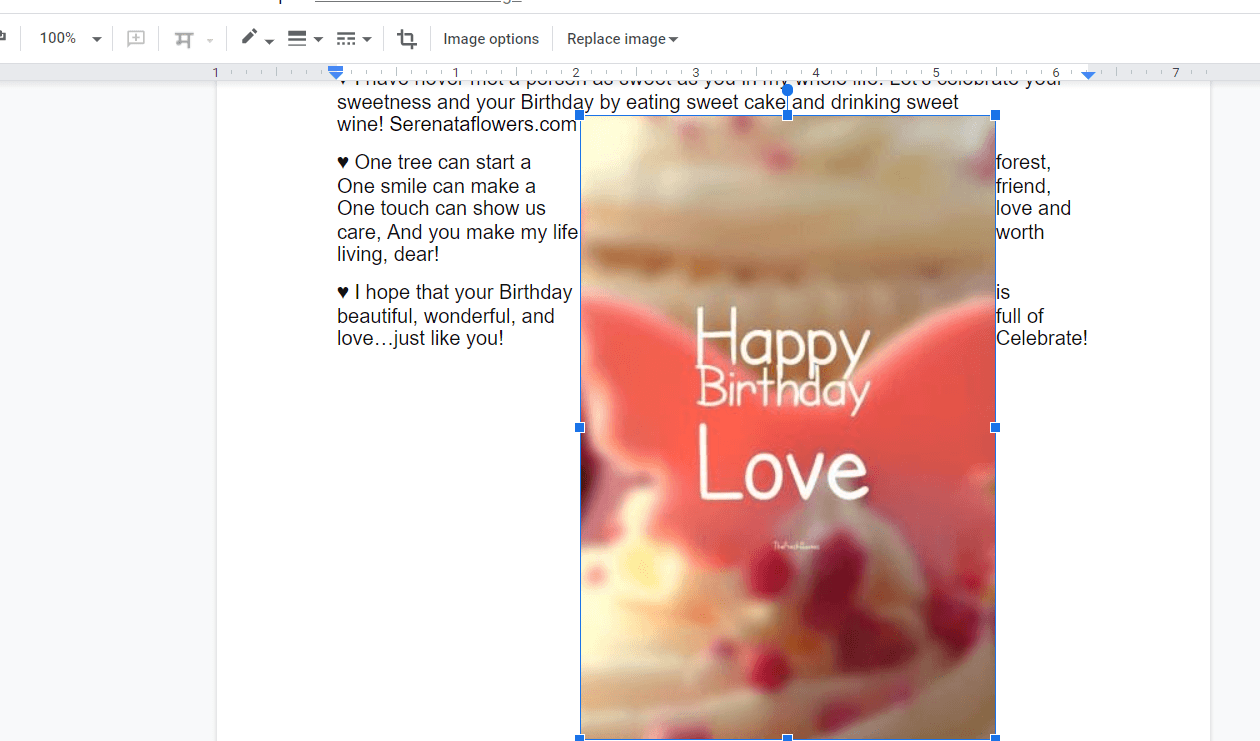
If you use the wrap text mode, the image is surrounded by the text on all four sides. There would be a small gap left between the text and the image.
The third option, Break Text, makes inserts a gap between the text and image. Based on where you have added the image in, the option breaks the text into paragraphs.
How to Move Pictures in Google Docs Mobile?
The steps involved in how to move pictures in Google Docs mobile are quite easy to follow, as in the case of the web version.
Let us check out a few steps to understand how it works:
- Launch your Google Docs app on your mobile
- To add an image anywhere on the document, tap where you want to add the image and then tap on the +(Plus) icon.
- Select the option Image.
- Tap on the Three Dots menu on the top and then enable the Print Layout option.

You will not be able to edit or move the image unless you are in the Print Layout mode.
- Tap on the image to highlight it.
- This will create a Blue outline on the image.
- Tap on Edit.
- This will bring up the handles around the image as in the case of the web version we discussed above.
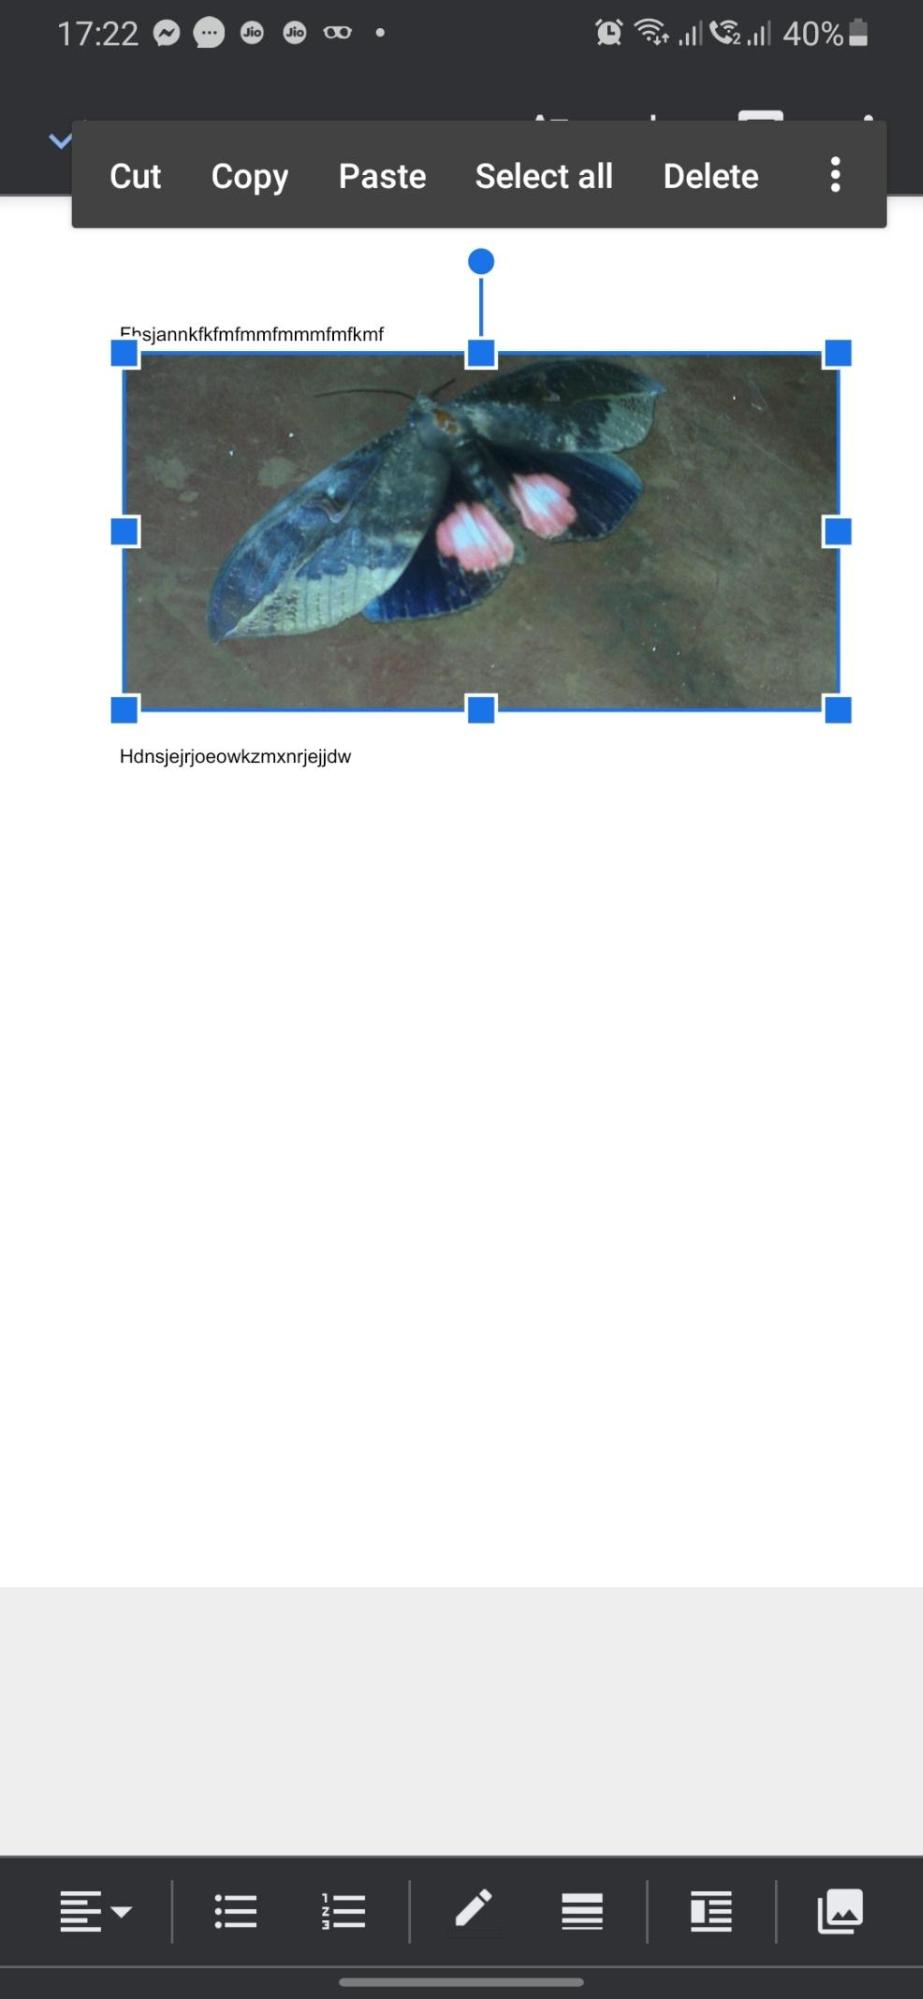
You can simply drag and move the image around the document to your desired location.
If you are looking to use the Text Wrap feature on the mobile version, you can follow the simple steps here below:
Tap on the Three Dots menu on the floating editing bar and access Image Options.
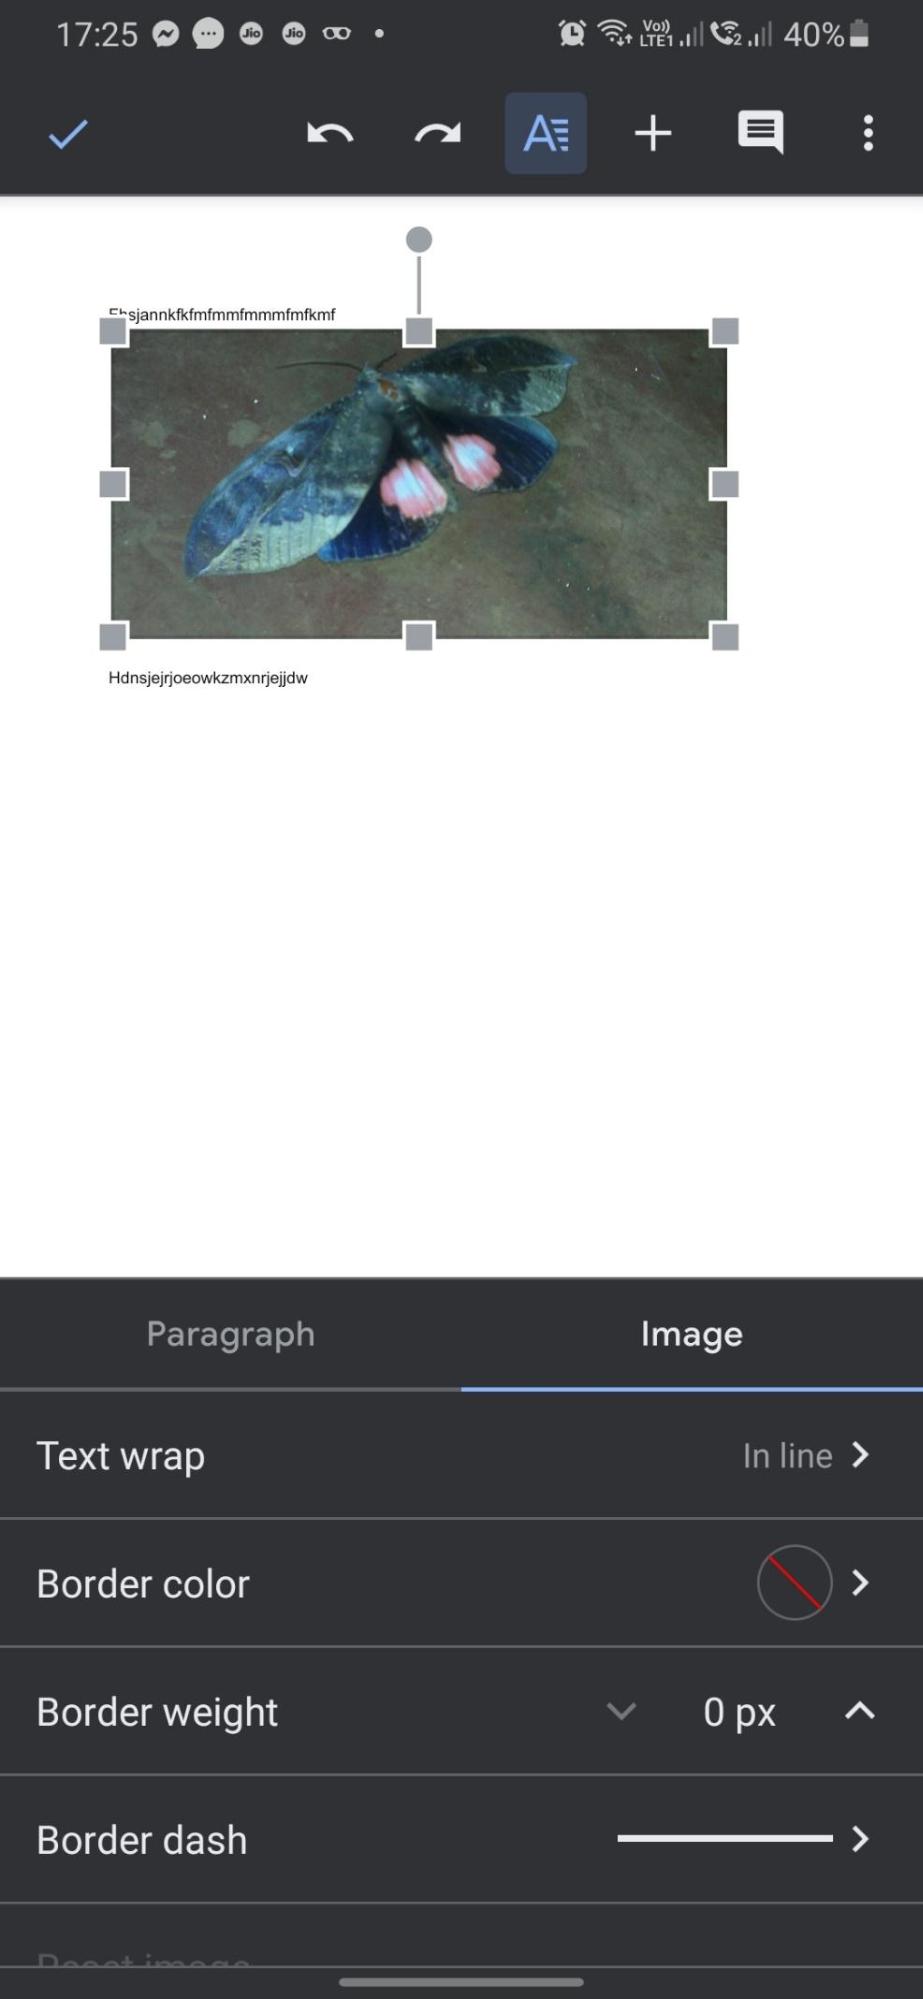
You can find several options for Text Wrap that include In-line, Wrap Text, Break Text and in front of the text. Pick the appropriate option as per your preferences.
Conclusion
Well, those steps should be clear enough and let you work with image handling rather efficiently enough. However, it should be noticed that Google Docs offers you very basic image handling options. However, if you are looking for advanced image handling, you would ideally need to look elsewhere for the perfect and powerful image handling possible.


Hello Atish,
Great and very informative post. I am started using Google docs to write articles and wondering how to add images to it. Your article is really a time saver for me.
Regards,
Vishwajeet Kumar
Hello Atish,
It’s a amazing article on how to move images in google docs. Firstly I didn’t know the concept of moving images in google docs but now I understand the step by step how we can move the images in docs and more about text wrapping.
Thank you for providing such informative information.