Are you up to present your project to coworkers or share precious memories with your family? A slideshow on DVD is a great portable option. Now you need to decide which software is the best to burn slideshow to DVD. If you want to figure out what’s the most convenient program for you, take a closer look at 3 ways.
Create a DVD Slideshow in Windows Movie Maker
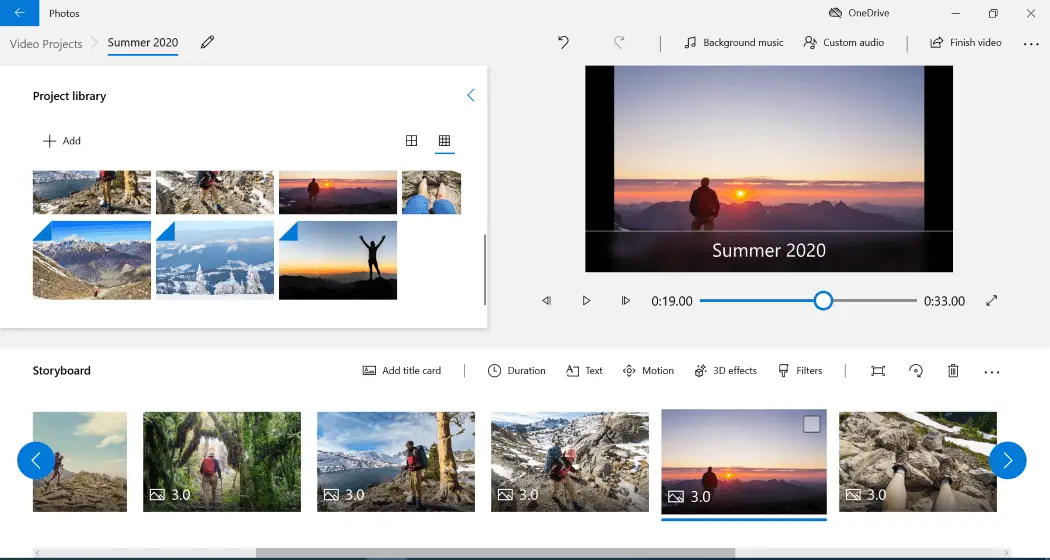
Have you decided to create a stand-out slideshow? The trusty Windows Movie Maker is a great option for Windows PC users. You don’t need to download and install the program, it’s a built-in app for Windows 7 and earlier OS versions. Users of Windows 8 OS and newer versions have a more advanced sibling of this app called Windows Video Editor.
To check it all out go to the Start menu or just type the name into the search box. Go ahead and open it up. It will please you with an intuitive interface. Although just in case you run into some questions about the use of the program let’s briefly go through the steps together.
-
Add Your Files to Windows Movie Maker
First of all, select New Project. To add files use the Add button and choose one or multiple folders on your PC or Internet, then select the files you’ll be working with. The next thing you need to do is to arrange the images in a preferred order and add videos if needed. A huge advantage of Windows Movie Maker is compatibility with all popular media file types so you will have zero problem using different media formats.
-
Spice Up Your Slideshow
Now let’s head over to giving life to the slideshow. On this step play around with the style of your slides. Are you a proud parent that creates a short story about your kid’s first year? Then go through cartoon-styled templates, change the colors according to your taste. If you’re going to present your project to co-workers a neat minimalistic template will suit your slideshow the most.
Then conjoint all the finished slides with transitions that will make your slideshow look almost like a movie. So take your time to choose one that corresponds to the type of your story, it’s definitely worth it. To preview a transition in the gallery cursor on it and apply any of your preferences.
-
Burn the Slideshow
To seal the deal, save the file on your computer. First of all take a CD or DVD disk and insert it. Even though it sounds obvious please take a friendly reminder to check if the disk you’re going to use is a blank one and no precious photos, business papers or other important information will be erased. Then click the video file you’ve saved with the right mouse button, choose the Send to option. After that you may have to wait for a couple of minutes until the program finishes the burning process.
This is the way to burn a slideshow to a DVD with Windows Movie Maker. As this program is discontinued you may run into some issues using it. Check out alternative software from our list for a more convenient option.
Use SmartSHOW 3D to Burn Your Slideshow
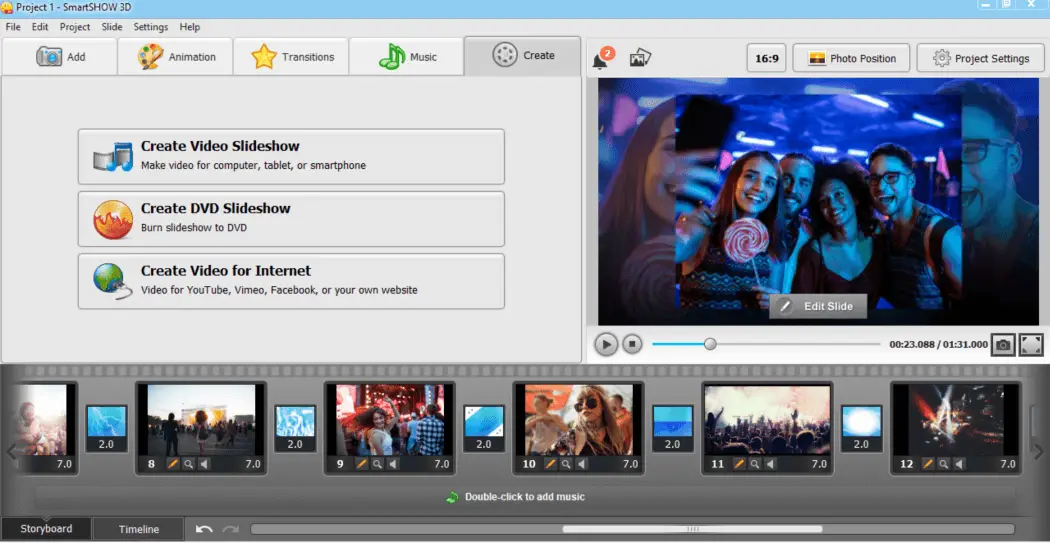
SmartSHOW 3D is a professional-level program that has a friendly interface that makes it easy to master. It features over 200 animated templates for slides, a gallery of over 400 effects and transitions, hundreds of soundtracks that will fit every taste. SmartSHOW 3D provides all new users with a trial period so that you’ll get a solid chance to understand whether it works for you or not. Let’s take a look on how to make a DVD slideshow with SmartSHOW 3D.
-
Pick the Pictures
Start from picking the files you want to use for the slideshow. When you’ve done that, open the folder with your files and select the ones you’ll work with. The next thing you need to do is drag and drop the selected files to the timeline. If you’re heading to highlight a memorable moment, try to alternate the order of your pictures so that they’ll turn into a story. In case you create a slideshow for an office meeting or school presentation, concentrate on the inner logic of your picture thread and think ahead of the way it’ll correspond to your speech. Further the program offers the user a gallery with hundreds of pre-made collage templates so browse through it and drag and drop to the images the one that suits your photos.
-
Make It Stand Out
SmartSHOW 3D media gallery offers its users hundreds of in-built songs, tunes and sounds. A friendly interface lets you add them easily, just click the one you’ve decided to use and it will be displayed in the Timeline. You can cut it, speed it up or adjust the volume if needed. The program offers you an option to add multiple audio tracks including those that are not in its in-built gallery. So you can make a voiceover and make your story more appealing to the audience.
Visual effects are a must for a slideshow. Choose what you like whether it’s an intricate 3D effect or a simple color gradient. You have over 350 transitions and animations to play with, just mind yourself not to be carried away especially in case you’ll use your slideshow in the office or at school.
For those who don’t feel like spending time browsing the gallery that SmartSHOW 3D offers there is a Slideshow in 5 minutes option. It means that you can choose a template with a matching soundtrack that was combined for you by a professional designer.
-
Burn the Project to DVD
Save your slideshow directly to DVD. It’s just as easy as it sounds. First open the Create tab and click Create DVD Slideshow. Then the program will offer you an option to customize the project with background music, titles or images. In case you don’t want to mess around with customizing your slideshow anymore skip this step pick a No Menu option. All you’re left to do is to click Burn DVD and choose a file extension.
Want more info or a video tutorial? Go to https://smartshow-software.com/how-to-burn-a-slideshow-to-a-dvd.php
Burn a Slideshow to DVD with PowerPoint
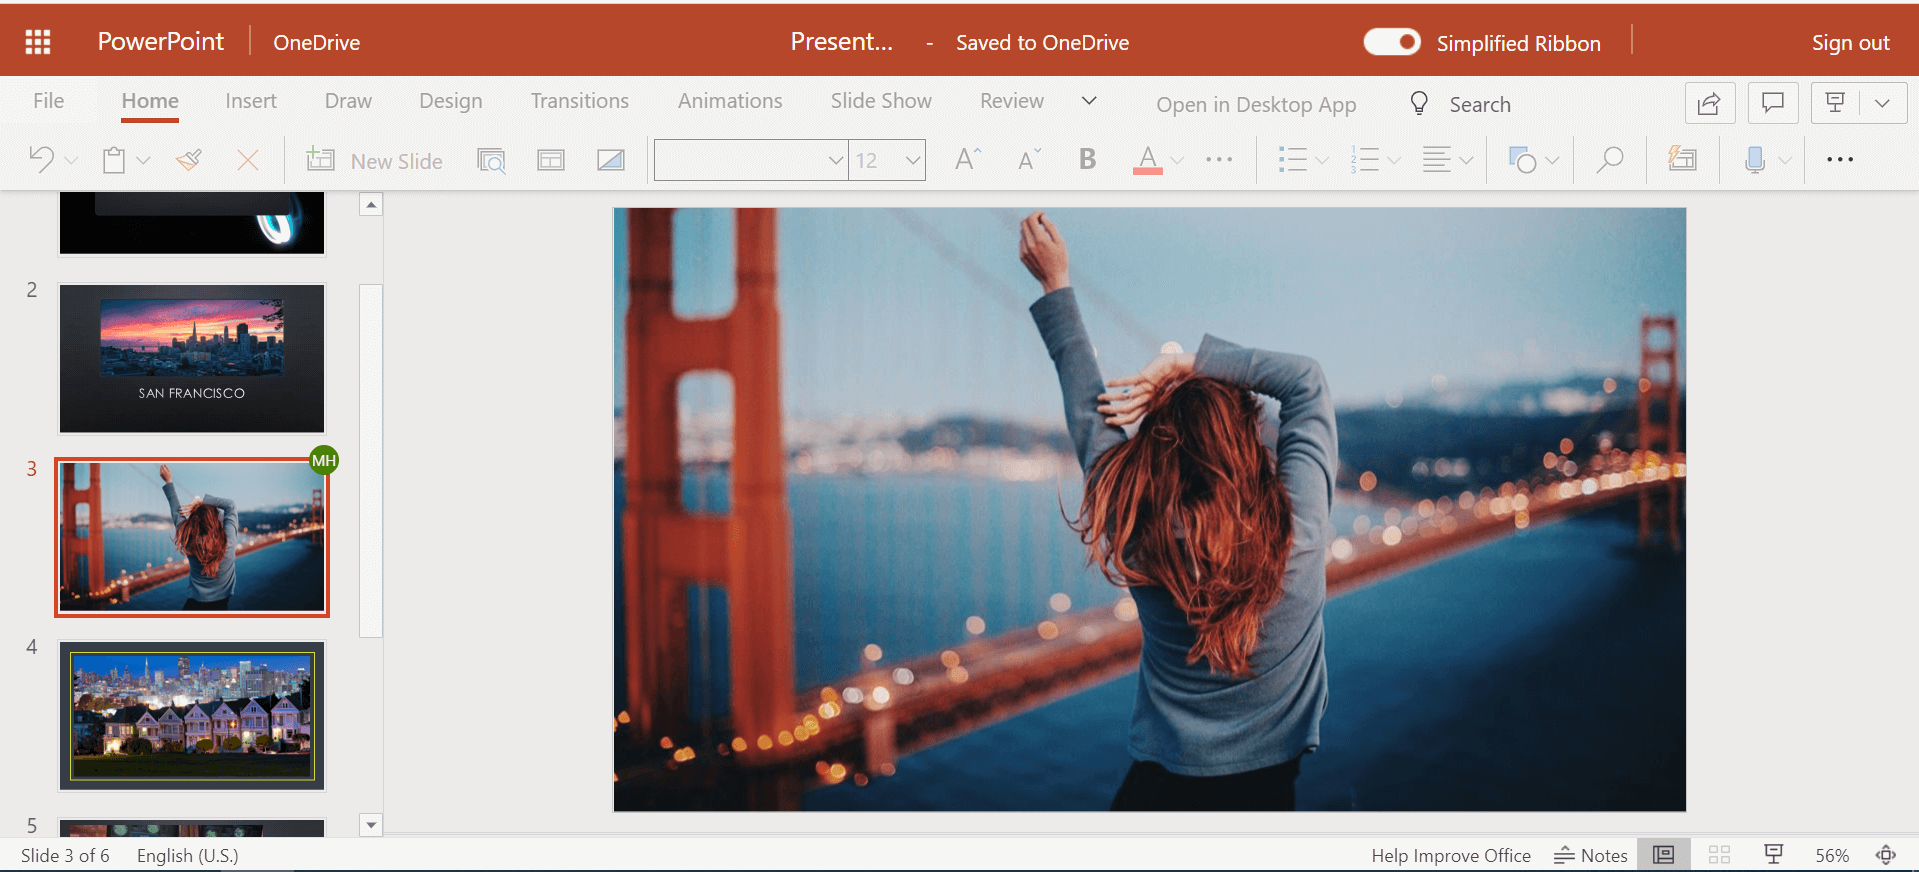
PowerPoint is a well-known tool to make a slideshow. It’s highly accessible for Windows OS users as it is a part of Microsoft Office Suite. One can easily make a basic slideshow and add more interest with animations and sounds. Here we’ll highlight its basic options and give you a brief how-to.
-
Create a Slideshow
PowerPoint is a beginner-friendly software. A user of any age and practice is experienced enough to drag and drop the photos and start the process of creating a slideshow. In case you’ve stumbled into any difficulties don’t panic. Due to PowerPoint popularity, there is an answer to any question possible on the Internet.
-
Add Some Style
Using a basic program doesn’t mean ending up with a boring slideshow as PowerPoint provides a user with tools to add some style and color to a slideshow. Try it out, start from the Design tab, and pick a template. A premade template looks neat and suits the presentation of any kind whether it’s meant for business meetings or school science projects. Adjust the colors, background music or special effect sounds for slide transition if you feel like the slideshow lacks personality.
-
Save and Burn Your File
Now let’s figure out how to put a slideshow on a DVD. First, save your project by clicking Save As in the File tab. Insert a blank DVD and open its window, then copy the slideshow file and right-click Paste on the disk window. Choose the Burn option and burn the slideshow. Then wait a bit as the process requires a couple of minutes.
What to Choose?
PowerPoint and Windows Movie Maker provide users with basic functions. Both are a convenient tool to pack information for school or business presentation. While SmartSHOW 3D gives a wider special effect variety so it’s a great choice for those who want to make an emotional impact on the audience. Besides, even a PC user that hasn’t dealt with photo editing programs is able to perform editing without any instruction as the interface is neat and friendly.
All 3 options allow the users to create a slideshow and burn the file to a DVD so you can bring it along to work or to a party, basically, anywhere. But, of course, there are significant differences. Take a minute to think about your slideshow and choose a program depending on the purpose of your presentation and user experience.


Add Comment